


Funnel Builder
Last Updated: Jan 29, 2026
At this guide and tutorial, you’ll learn how to use the Bodygraph.com GoHighLevel Extension inside GoHighLevel’s Sites area including both Funnels and the Website Builder. The good news: the editors are essentially the same, so once you understand one, you’ll understand the other.
Where to Find Sites & Funnels
To access the GoHighLevel Extension:
Go to your Bodygraph.com dashboard
Click GoHighLevel in the menu
If it’s your first time, accept the terms and log in
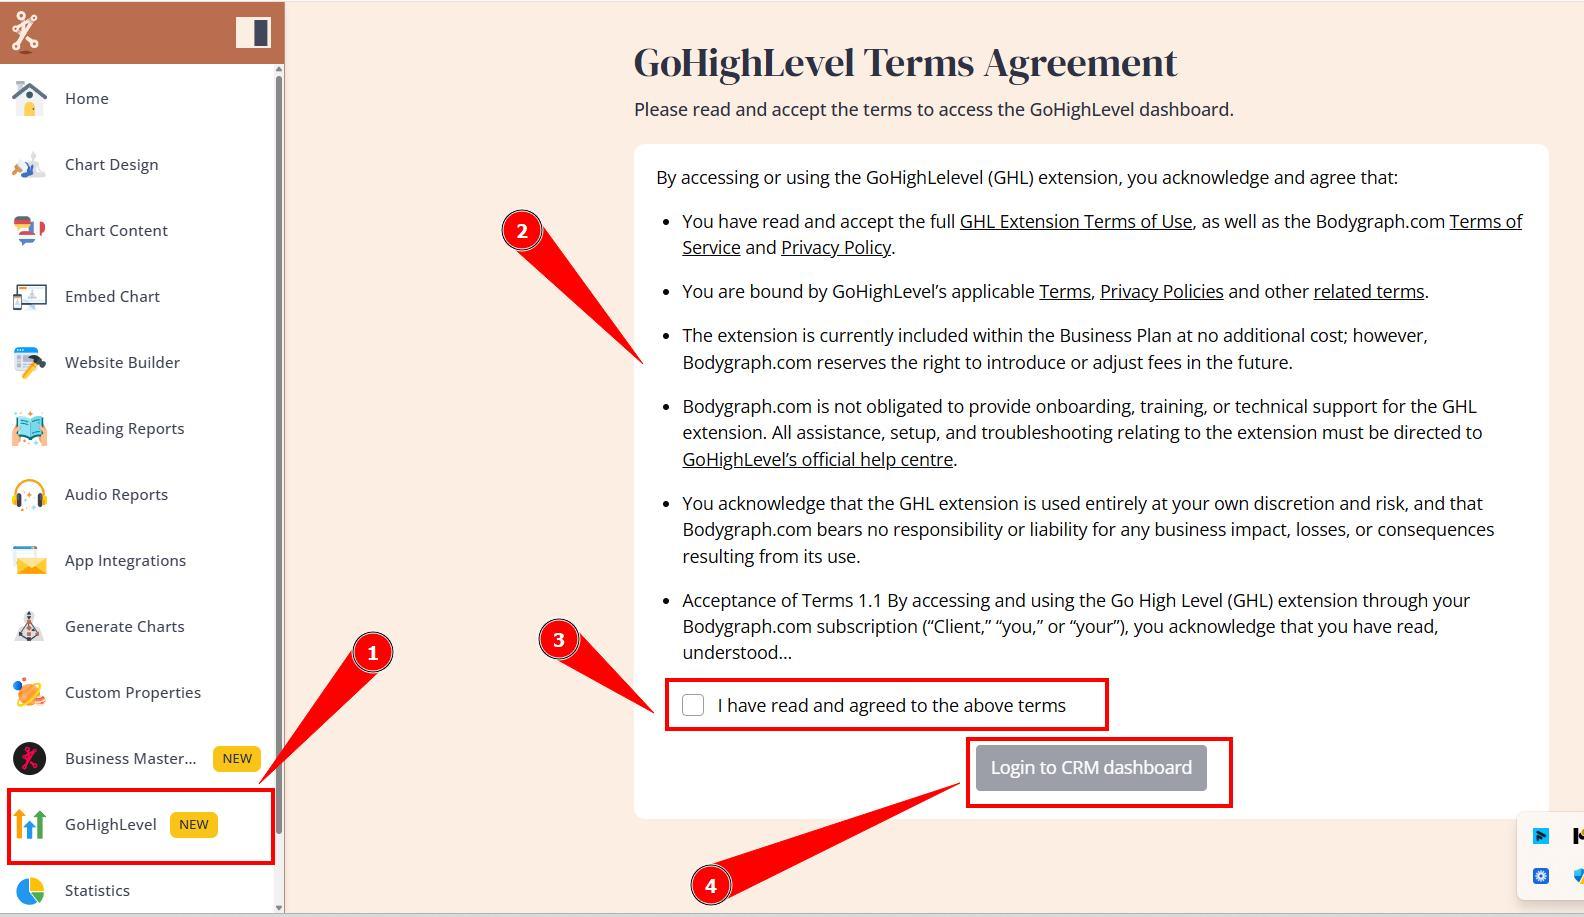
Once logged in, you’ll have one-click access to your GoHighLevel Extension dashboard.
To find the builders:
Go to Sites
Funnels
Websites
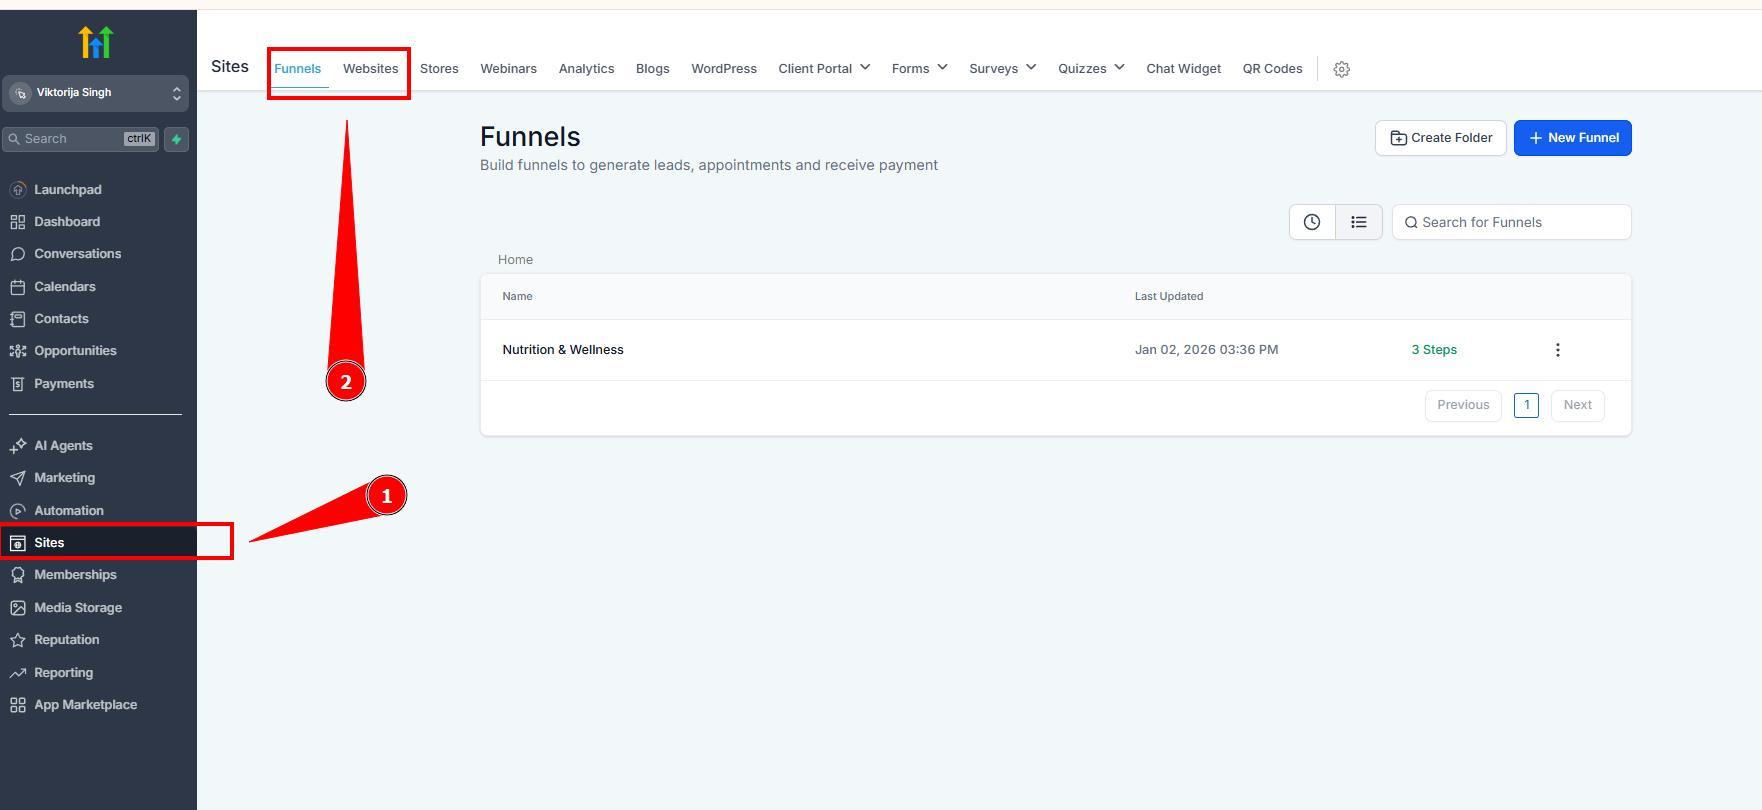
In both areas, click Create New to start:
From Blank, or
From a Template (recommended)
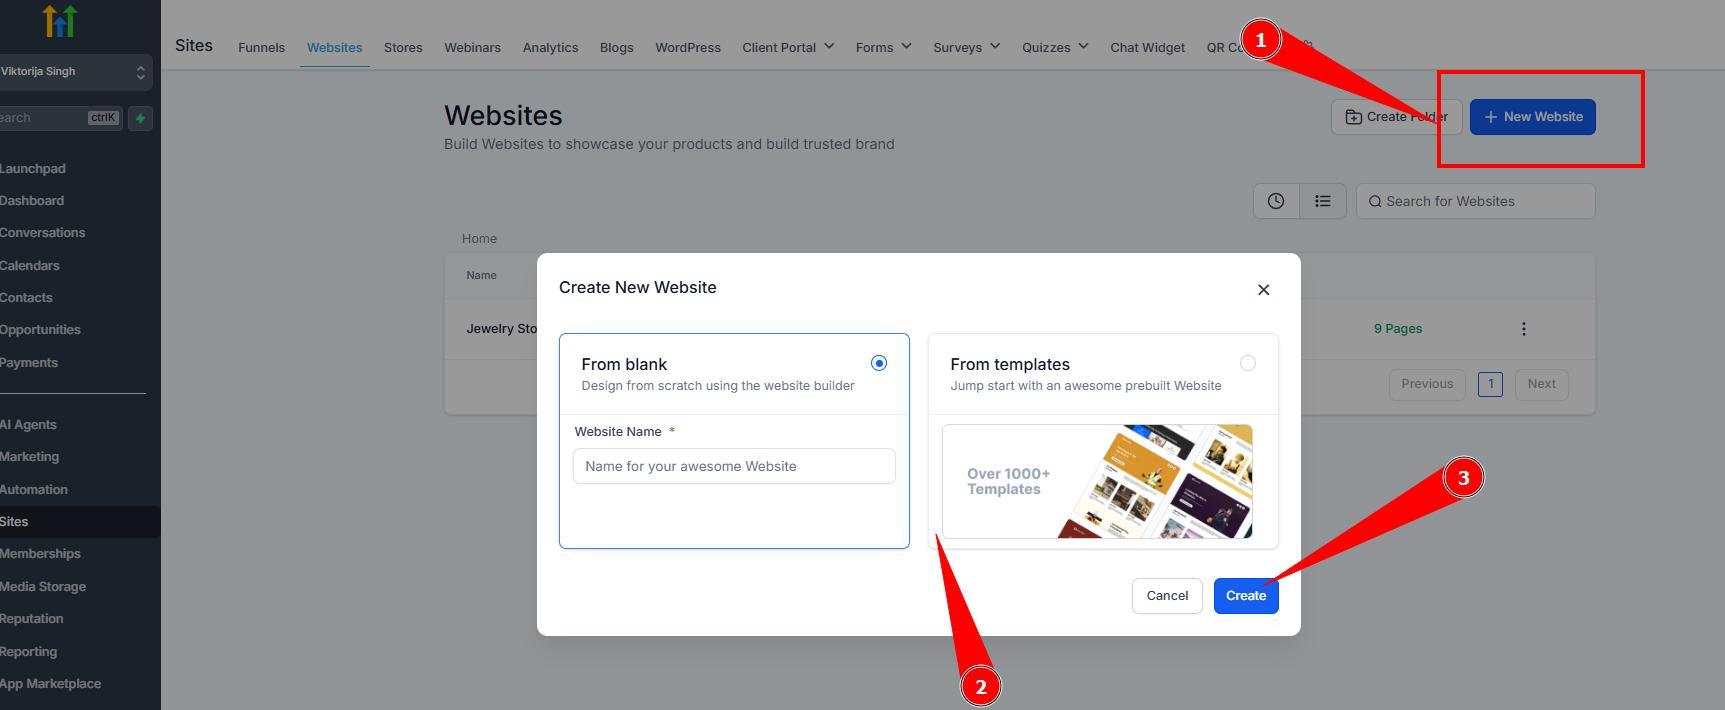
Templates make building much faster and easier compared to starting from scratch.
Funnels vs Websites: The Key Difference
The main difference is simple:
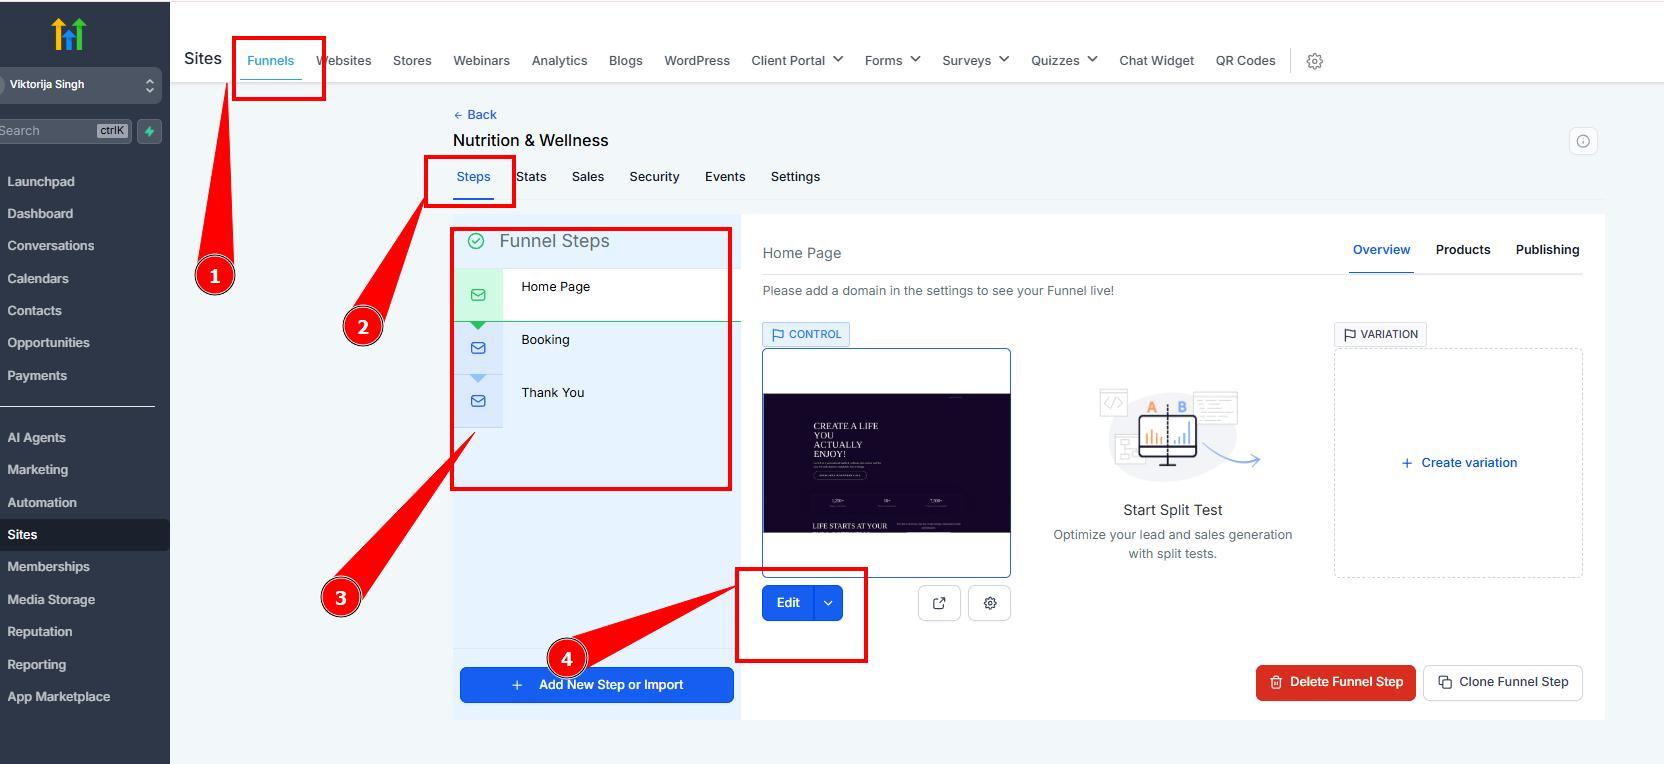
Funnels are built with steps (a guided journey)
Websites don’t have steps (visitors can freely navigate)
Why Funnels Convert Better
Funnels work best when you want a controlled path and client’s behavior – especially for:
ads (Meta / Google)
social media links
lead generation + sales journeys
They reduce wandering around and guide clients through clear call-to-action buttons. Most effective funnels are usually 3–4 steps, because longer funnels tend to lose more people along the way.
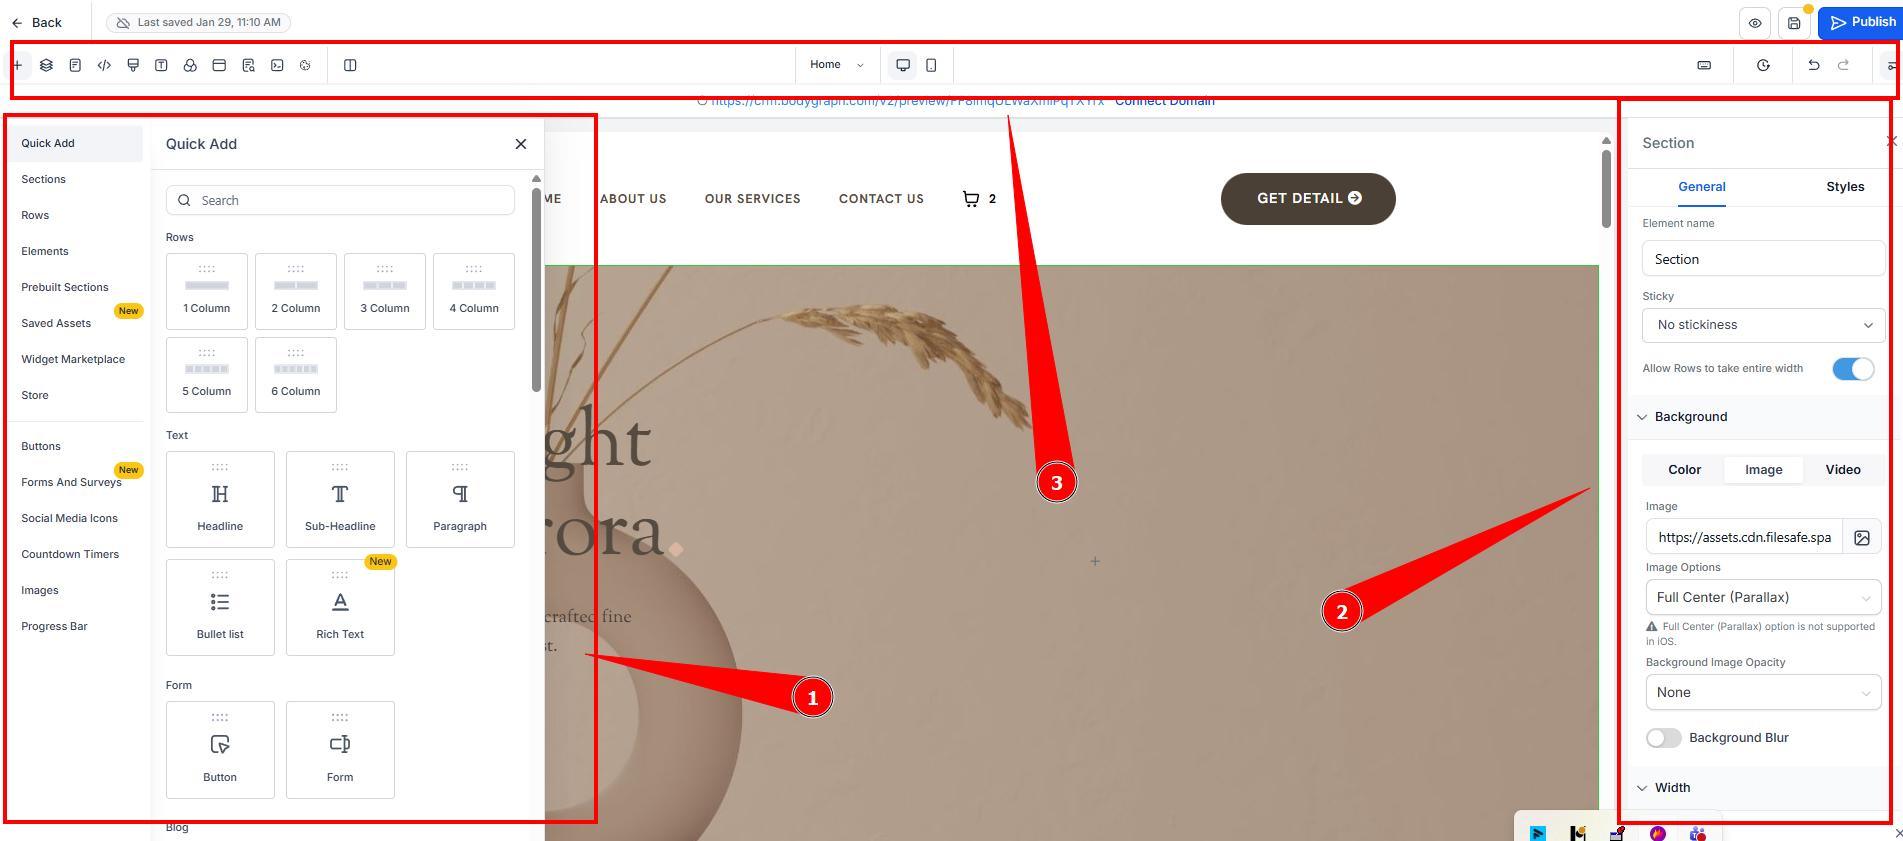
Using the Editor (Same for Funnels & Websites)
When you click Edit on a funnel step or a website page, you’ll open the same editor layout:
Left panel: sections + elements you can add (drag & drop)
Right panel: settings for the selected element (fonts, spacing, backgrounds, animations, mobile visibility)
Top bar: save, undo/redo, desktop/mobile preview, and more
How Layout Works (Structure Basics)
GoHighLevel uses a “block” structure:
Section (full width)
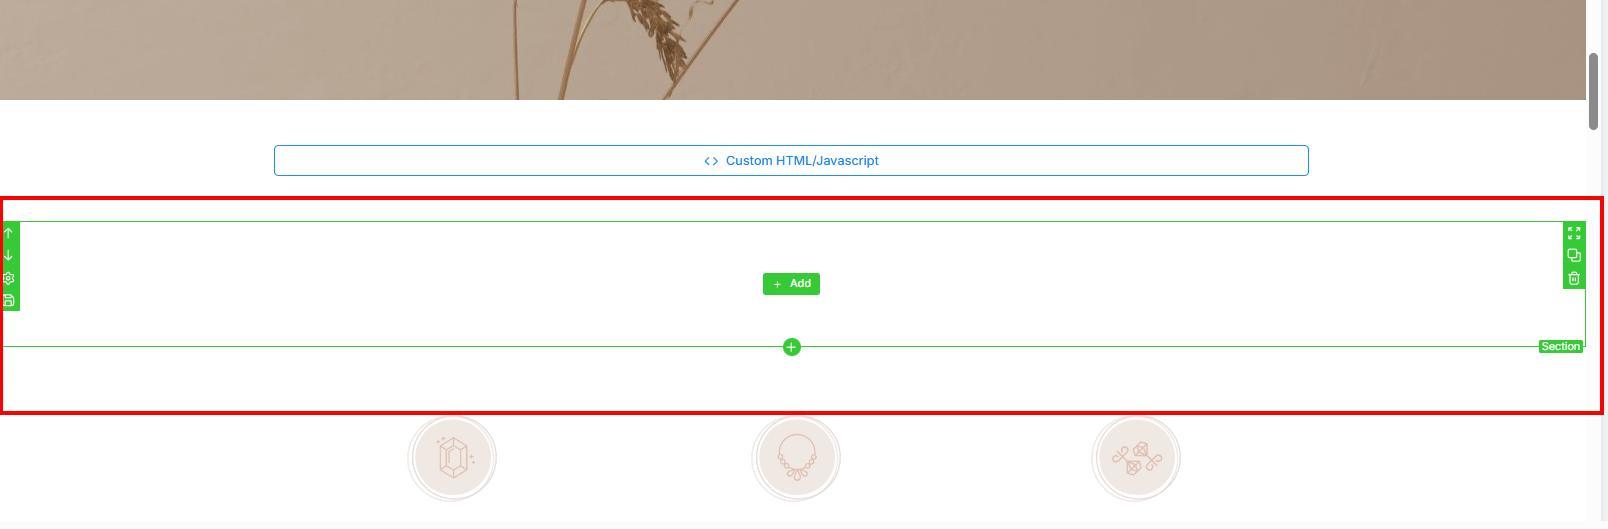
Row within section
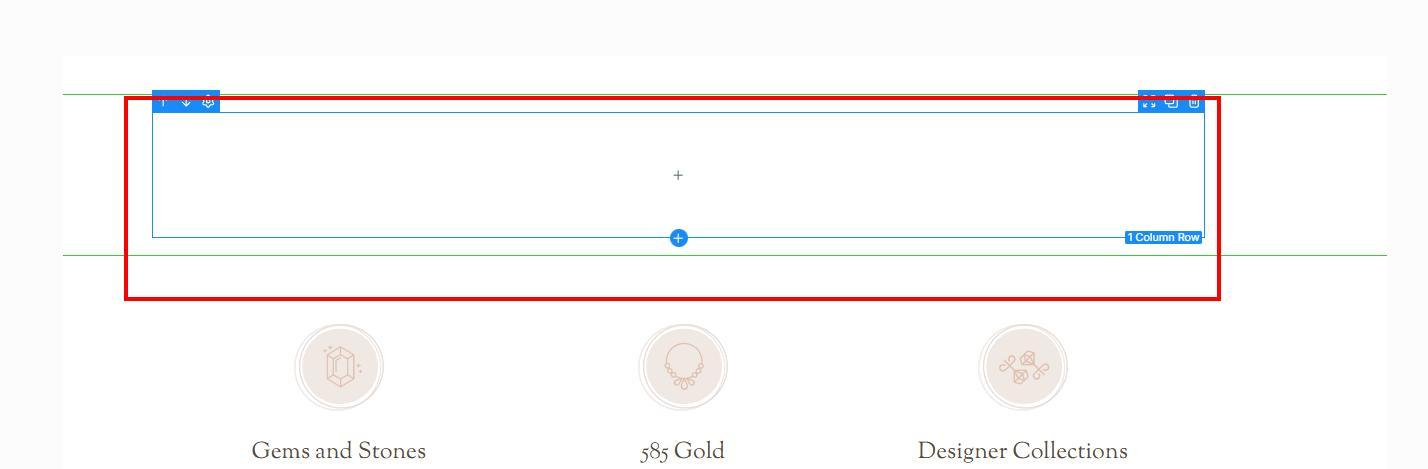
Columns within rows

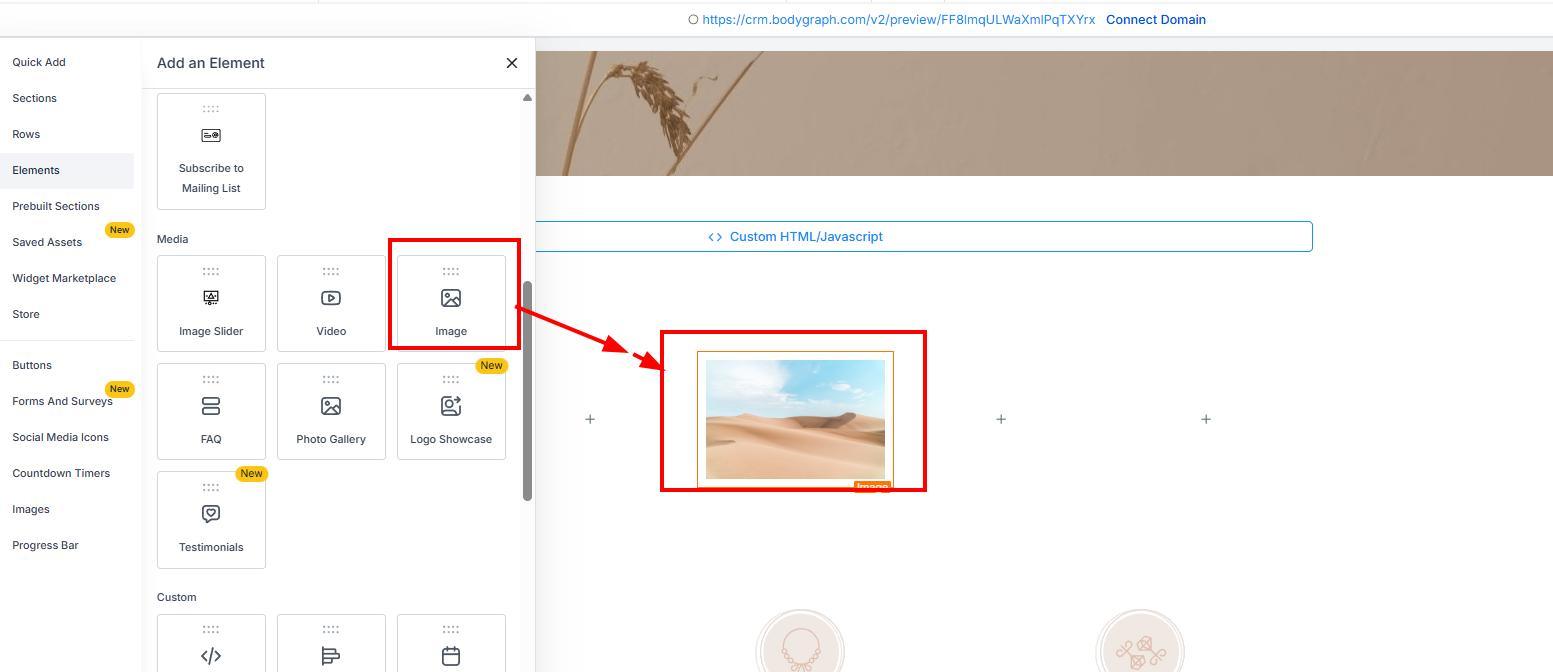
Elements (text, image, button, video, embed, etc.)
A practical tip from the tutorial: build your layout first (sections/columns), then add elements into prepared spaces – this feels smoother than dragging elements randomly and trying to fix alignment later.
Adding Bodygraph Charts (Important!)
The GoHighLevel templates do not automatically include the Bodygraph Human Design and Asrology chart calculator.
To add a chart:
Choose the page (or funnel step) where the chart should appear
Add an element that supports embed code
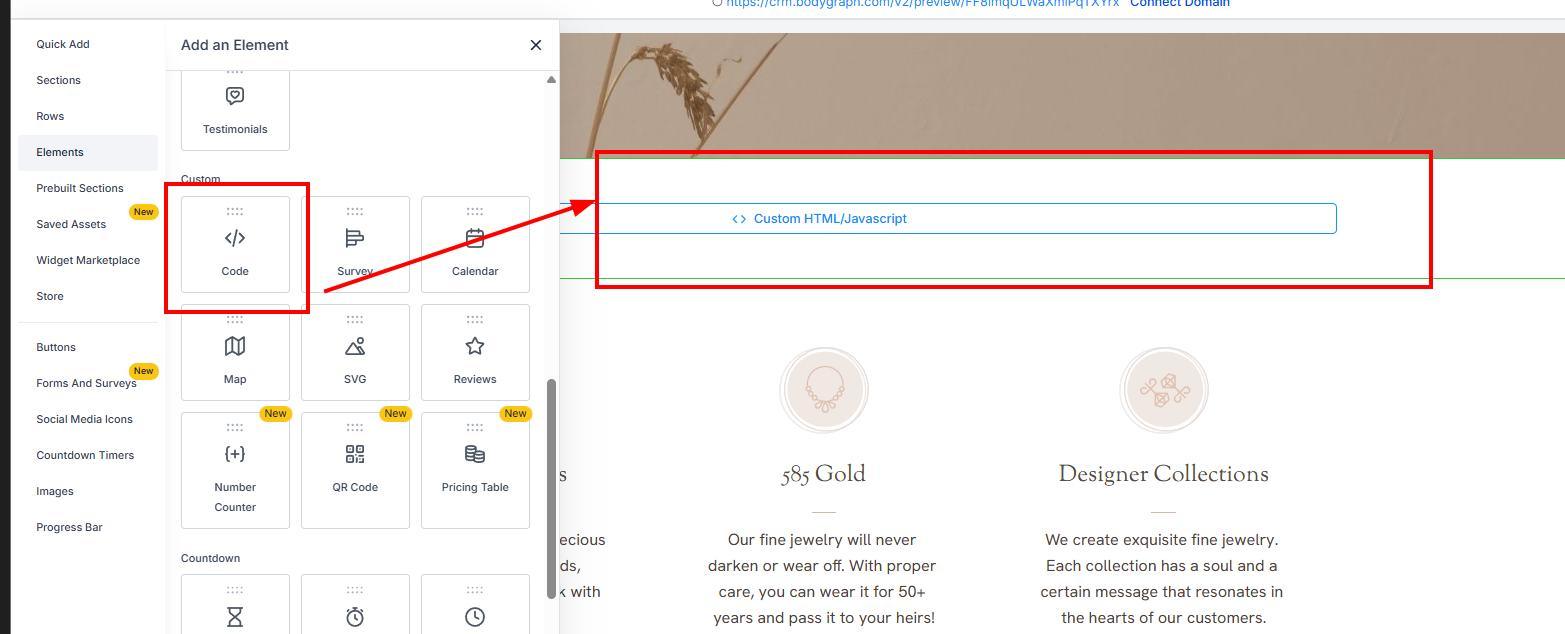
Paste your Bodygraph embed code into the element settings (right panel)
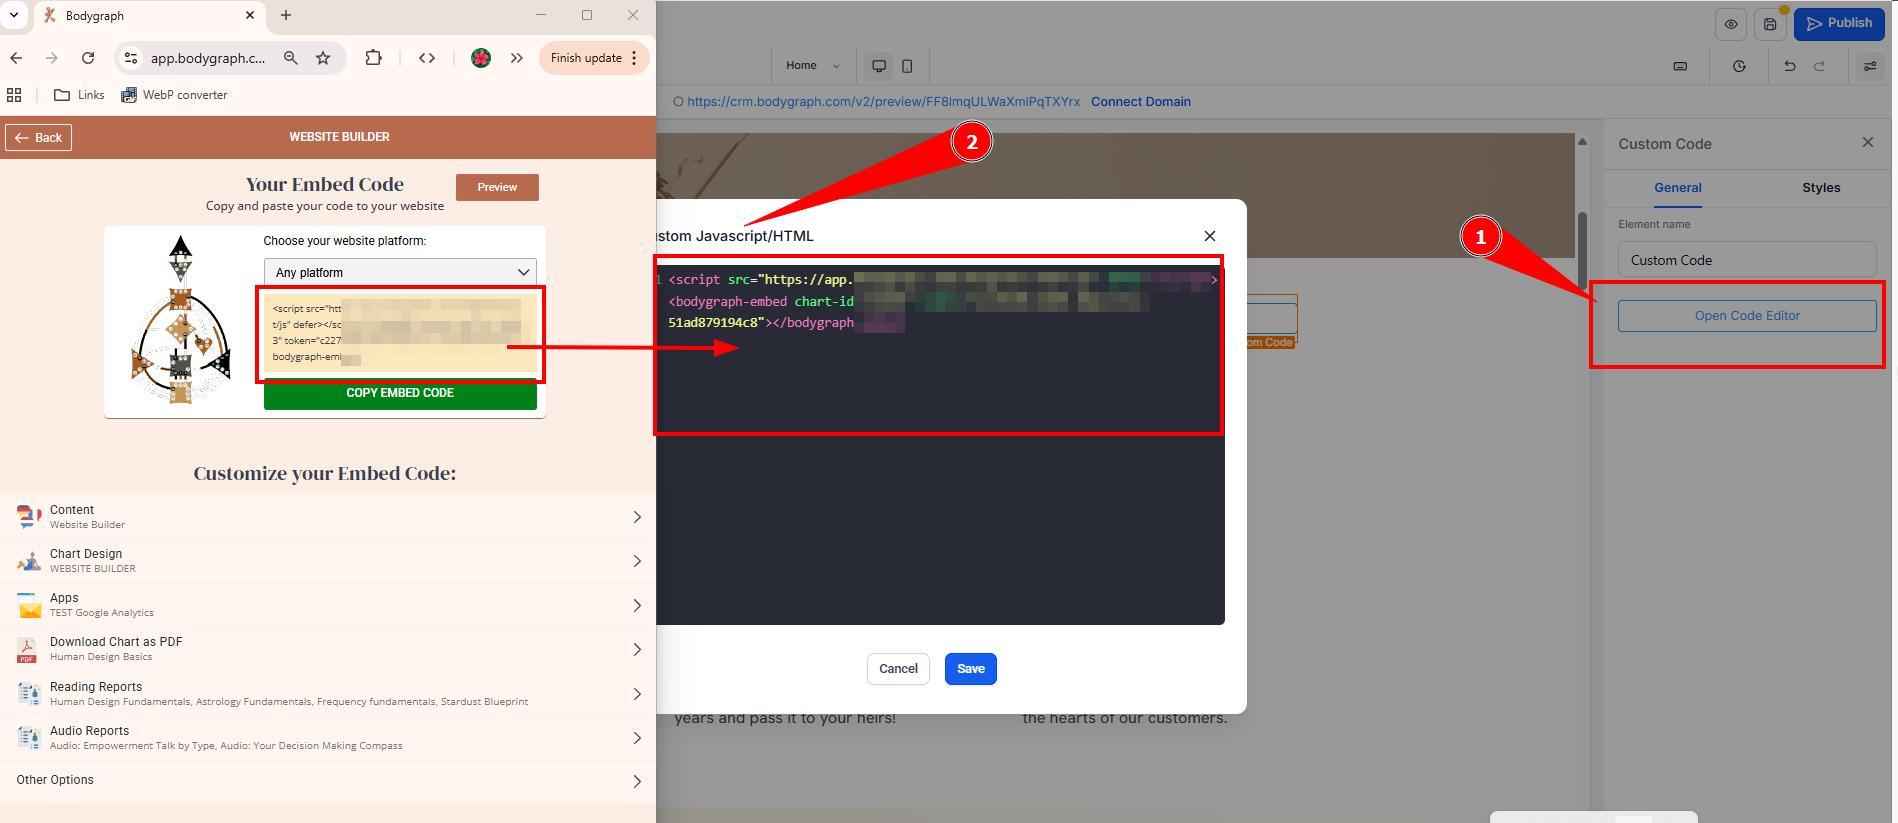
Save
✅ Note: You may not see the chart inside the editor itself – use Preview or open the page URL to confirm it displays correctly.
Store + Checkout Pages (Compatibility Note)
GoHighLevel lets you install a Store, which automatically creates a checkout journey (product list, product detail page, cart, checkout, thank you page). This is great for selling your own services and products, such as:
coaching sessions
memberships
ebooks/books
physical products
⚠️ However: GoHighLevel store checkout is not compatible for selling Bodygraph reports directly.
Bodygraph reports require birth data and personalization, so the report purchase happens through the Bodygraph chart/report flow, not an external checkout.
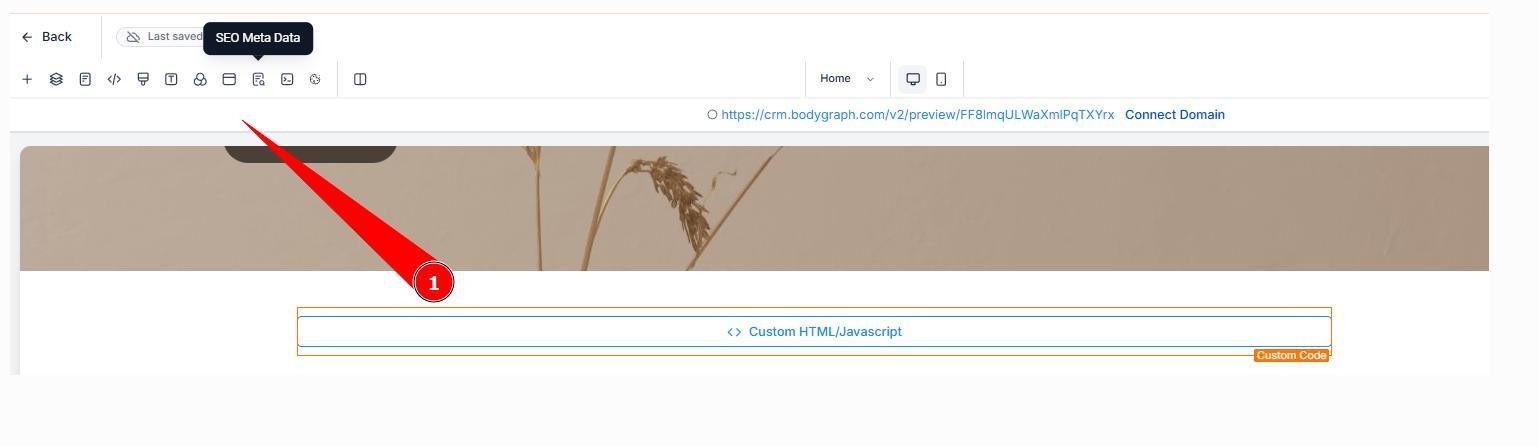
Helpful Settings You Shouldn’t Skip
Inside the editor settings you can access important tools like:
SEO settings (title + description especially — helps search engines and AI discovery)
Tracking code (Google Analytics, Meta Pixel, tags)
Typography / Global styles (set fonts once, apply across pages)
Pop-ups (forms, quizzes, lead capture; time-delay or exit-intent options)
Cookie consent
Custom CSS (advanced users)
Mobile Testing + Smart Launch Tip
Always preview both:
Desktop view
Mobile view
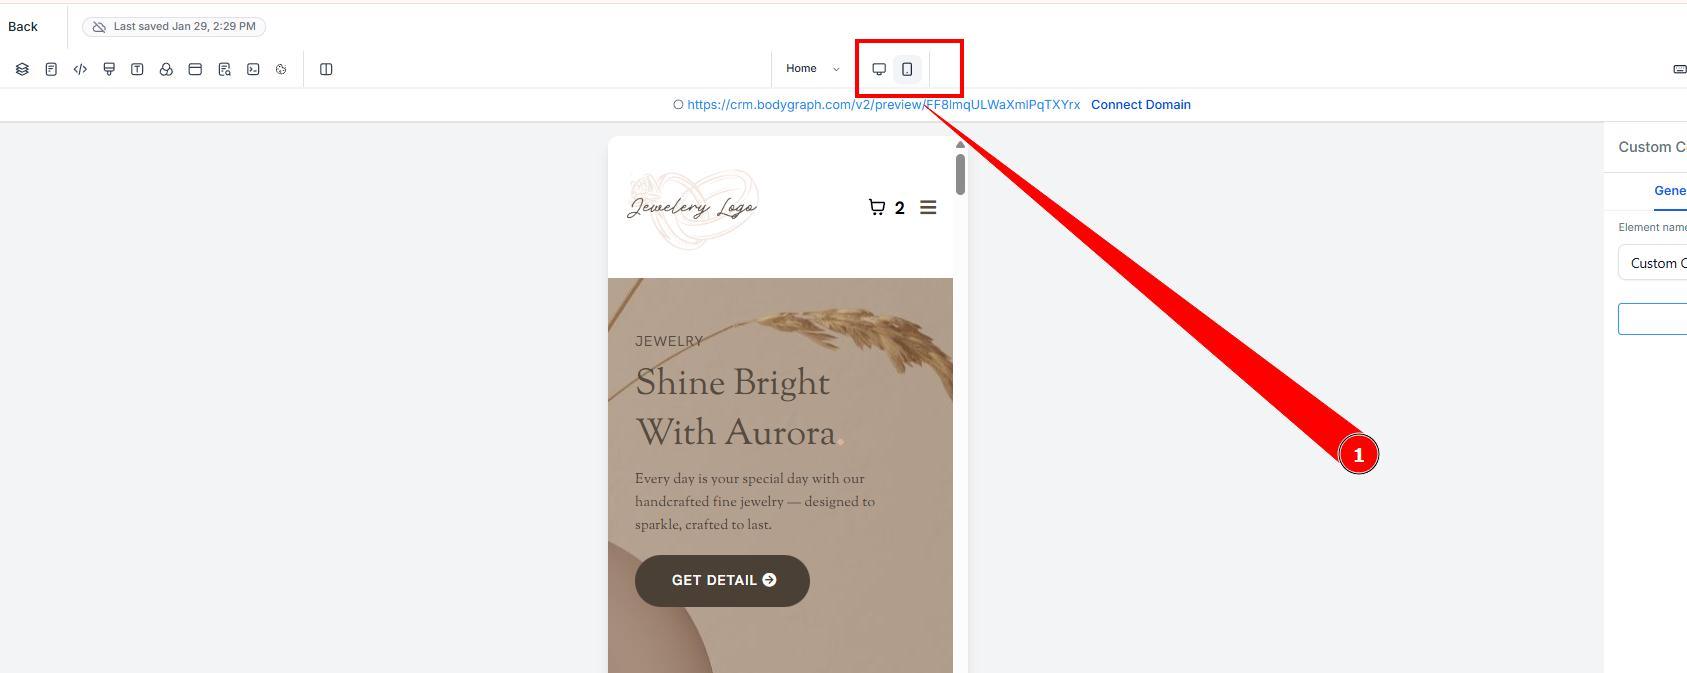
Some elements may need to be hidden on mobile or adjusted for spacing.
A recommended launch workflow:
Do a soft launch using the temporary GoHighLevel URL (test with friends/family)
Test across devices: iPhone/Android, tablets, browsers (Chrome, Safari, Brave, Opera)
Connect your domain only after testing is complete and launch for public.
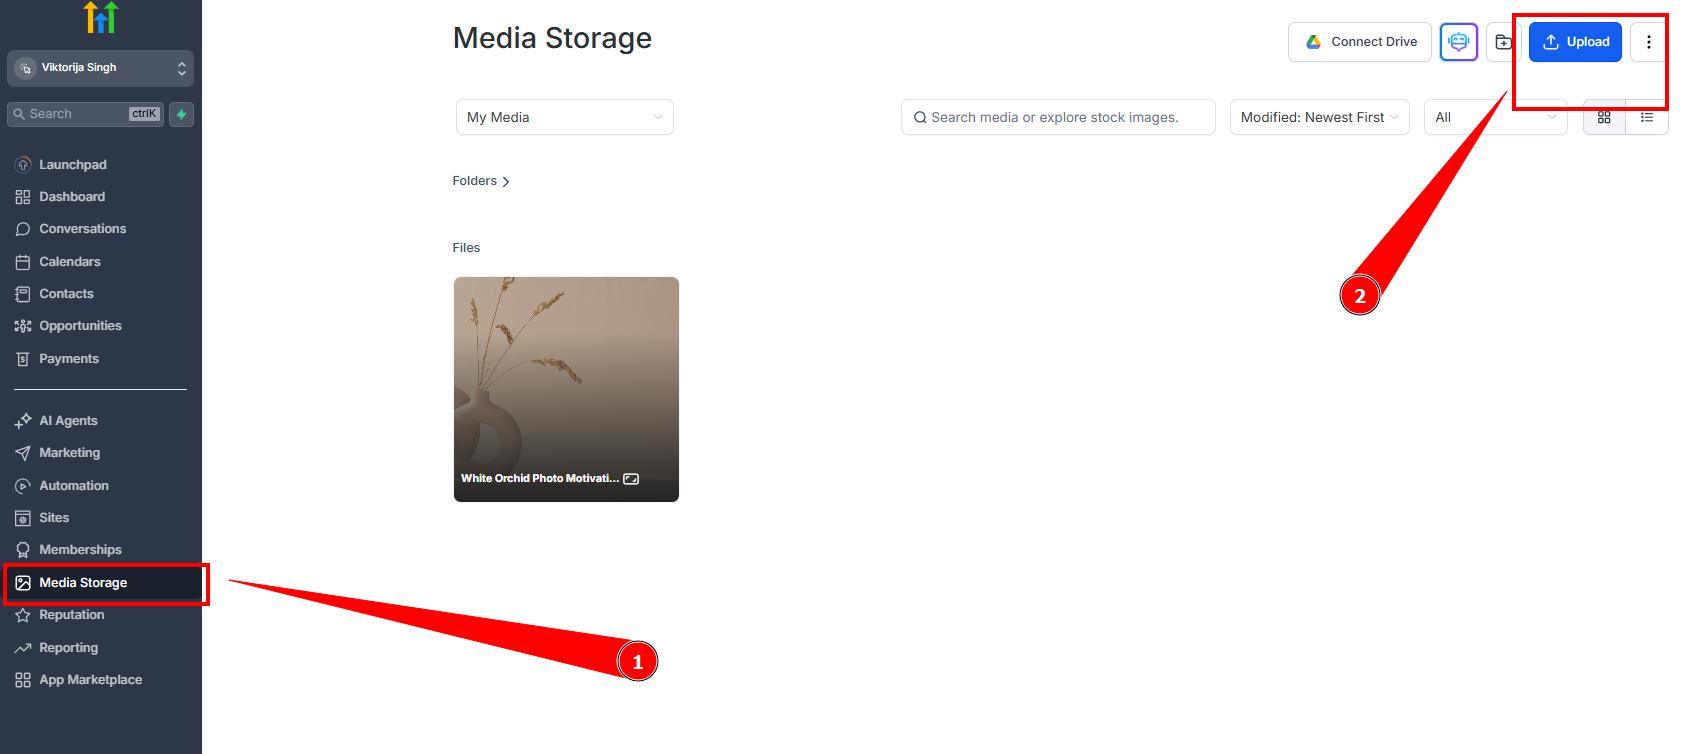
Prep Your Brand First (Speeds Everything Up)
Before building, upload your assets:
GoHighLevel Media (logos, backgrounds, images)
Brand Board / Brand Kit (colors + fonts)
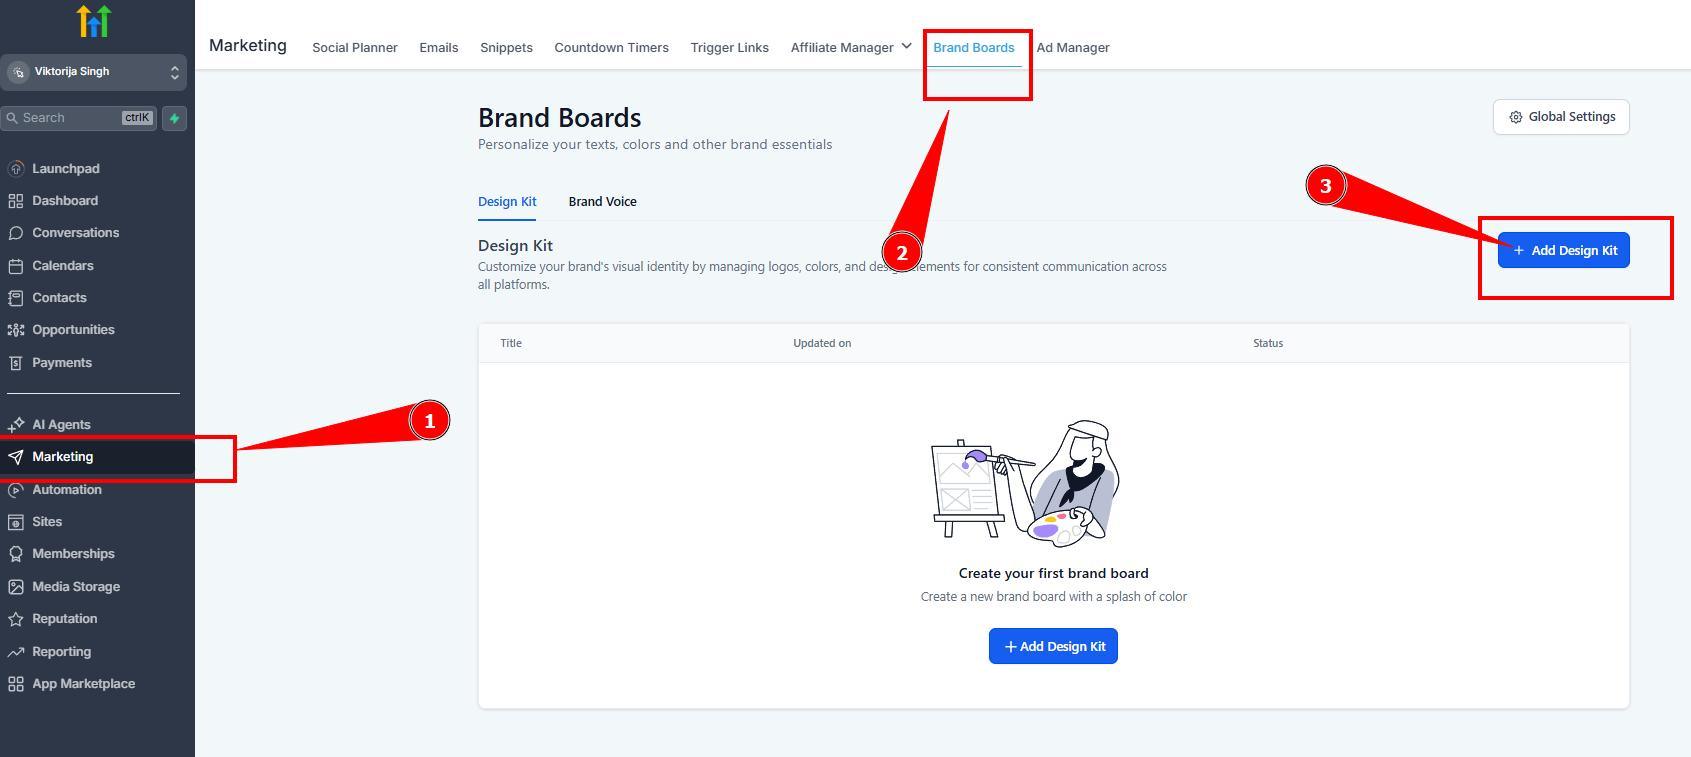
This makes it much faster to design consistently and apply global typography.
You can also check video tutorial here:
Still have questions, is above guide outdated? Please message us on Live Chat or send an email to support@bodygraph.com.
All the Tools You Need to Build, Grow, and Scale Your Human Design and Astrology Business
