Create an Airtable account.
Setup Connection Settings
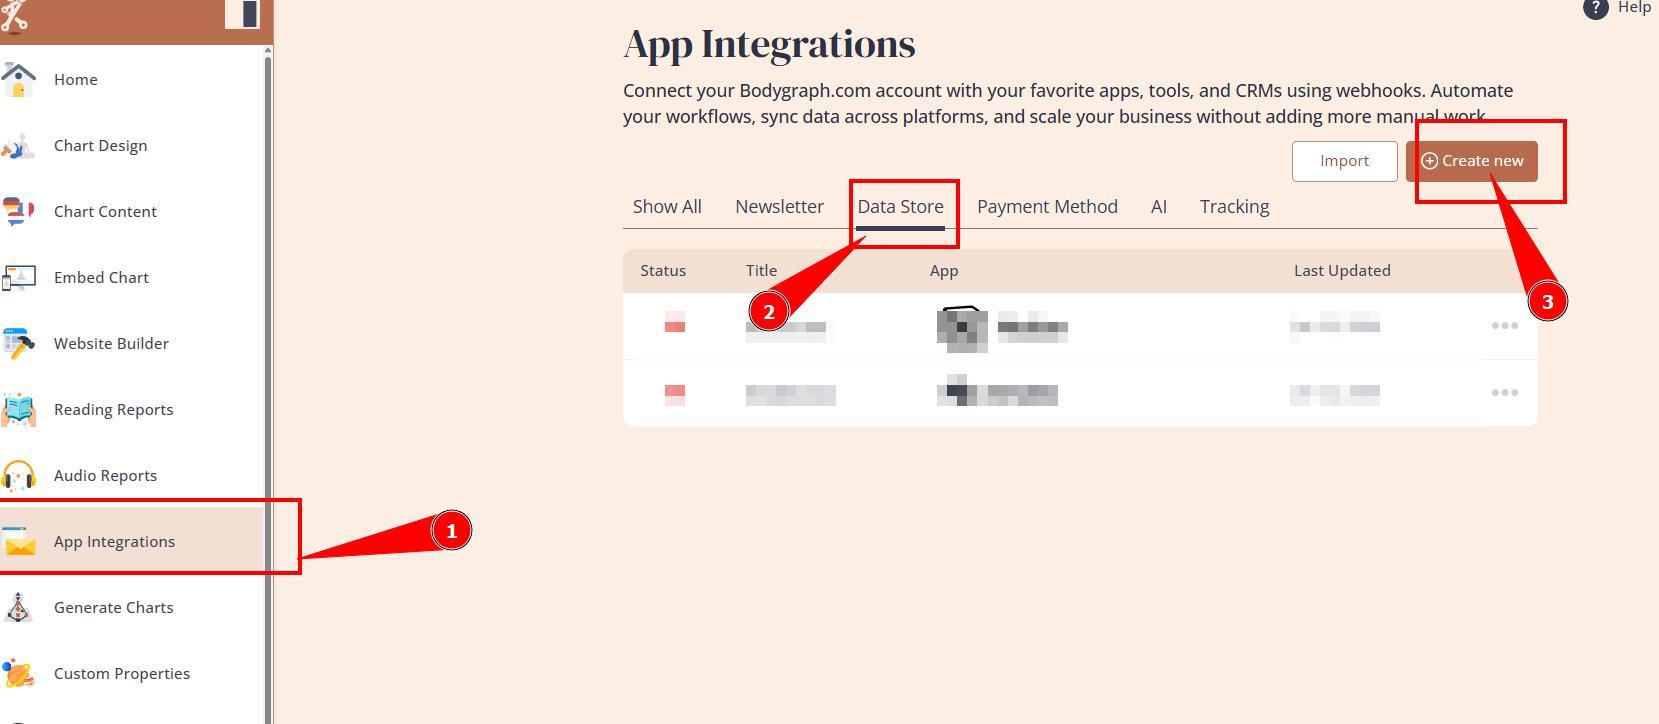
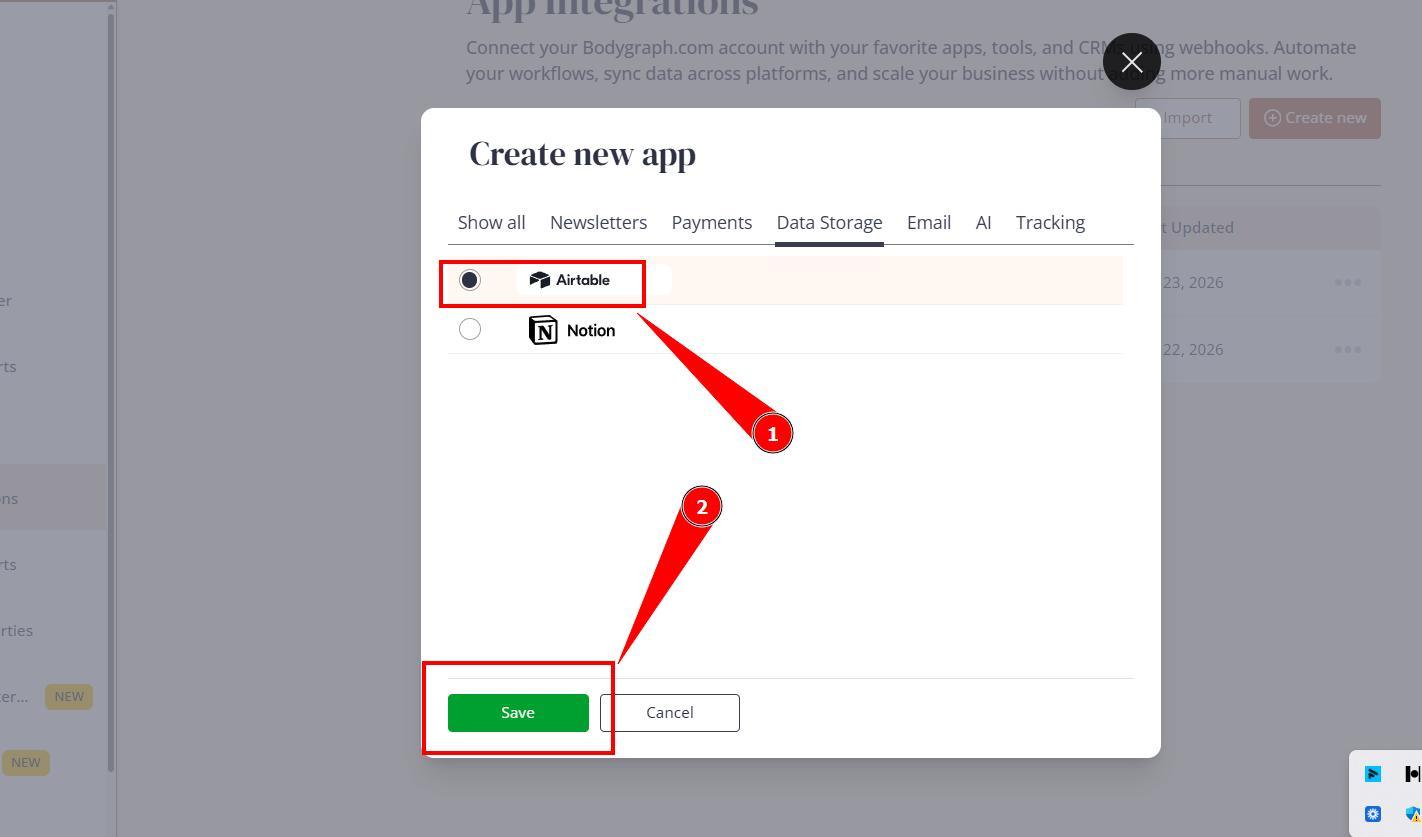
1.Open Bodygraph chart account and go to App integrations -> Data storage -> Create new -> Select Airtable.
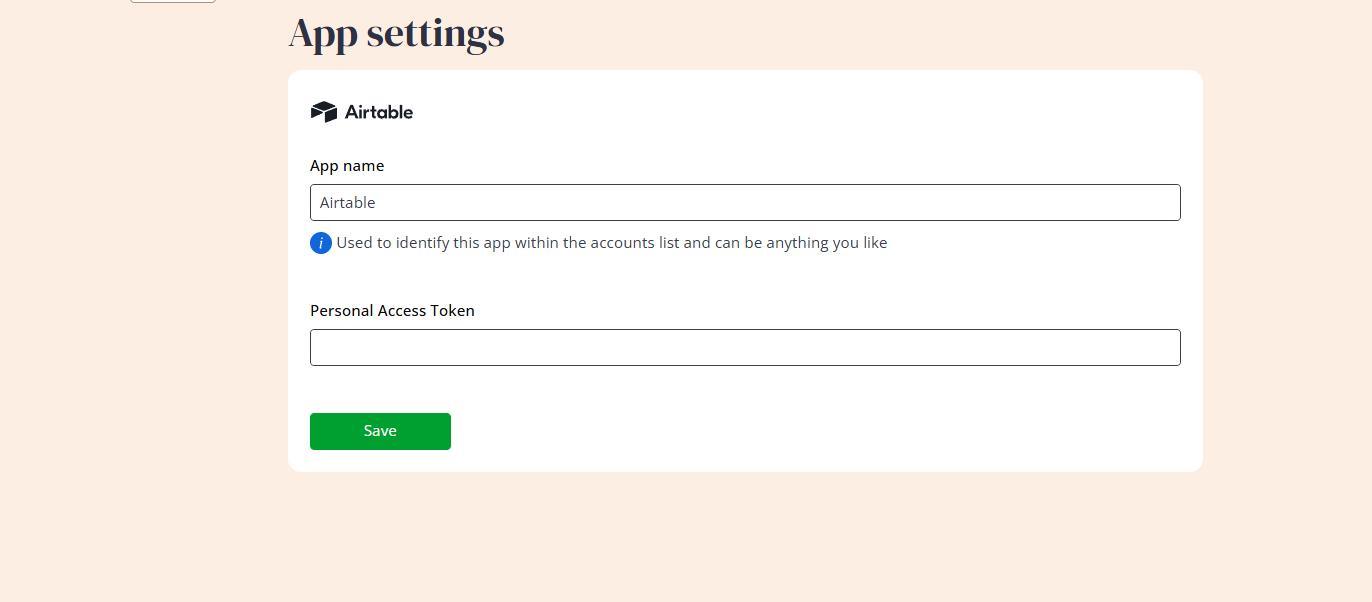
2. Give the app connection a name (just for your reference) and leave this tab open.
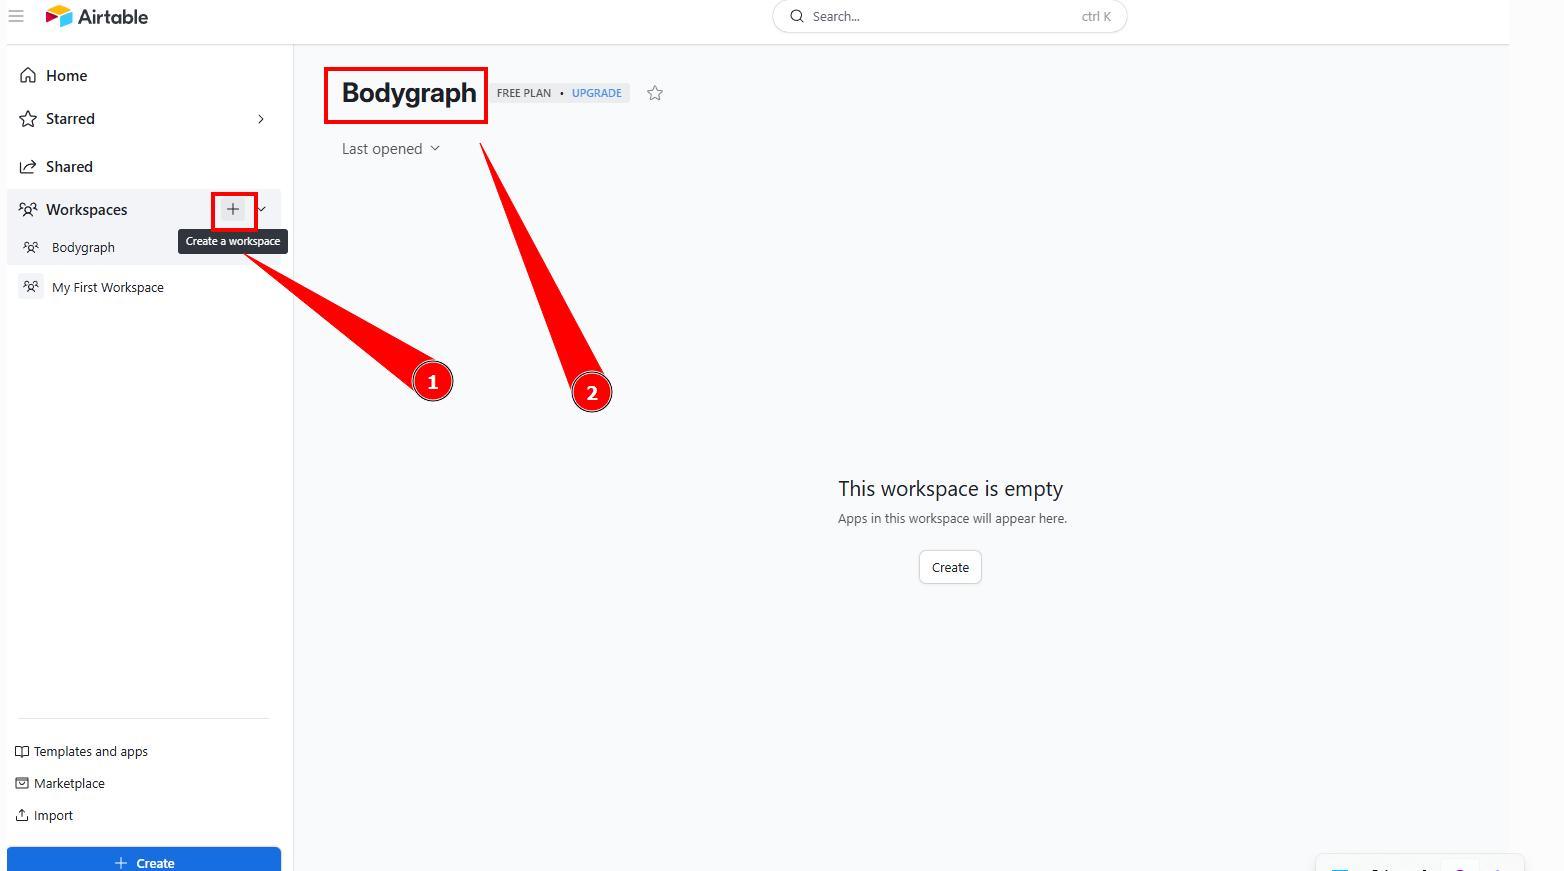
3.On the different tab access your Airtable dashboard and click ‘Create a workspace’, name it so it is easy to identify.
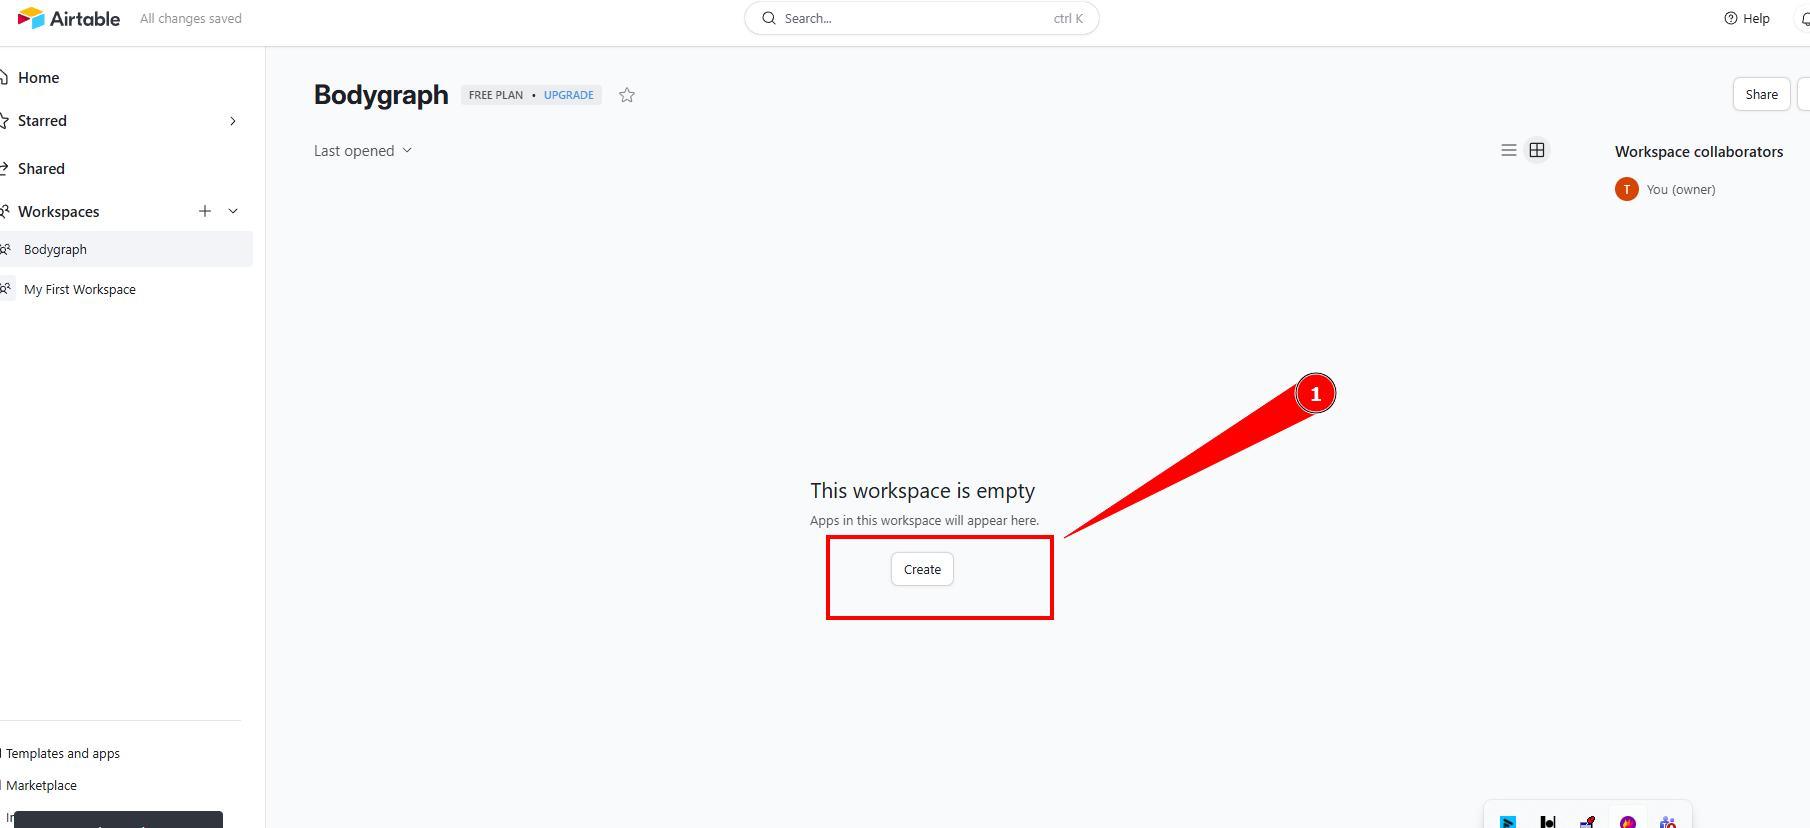
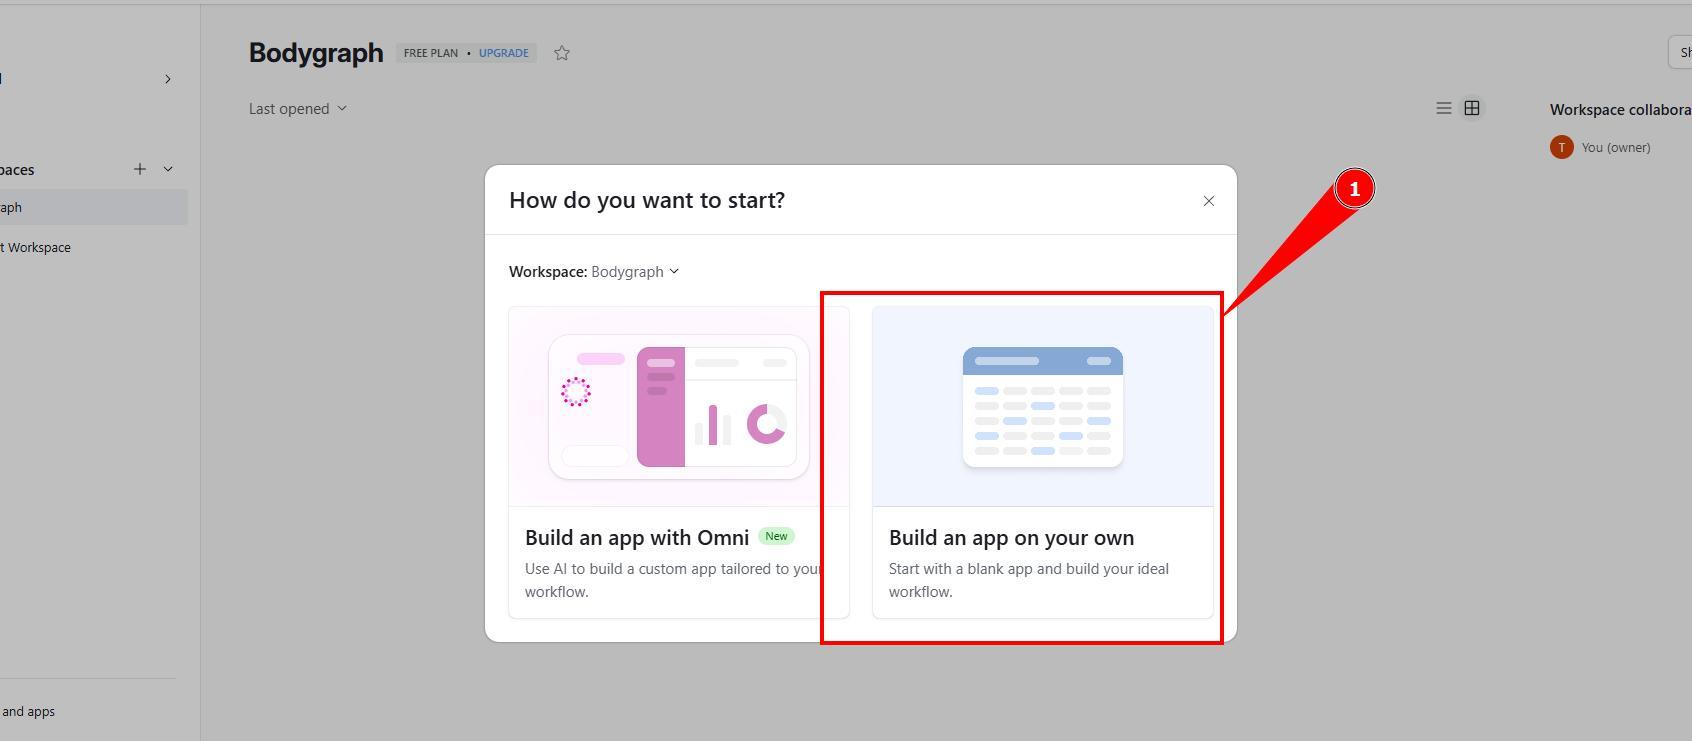
4.Click on the ‘Create’ and select ‘Build app on your own’.
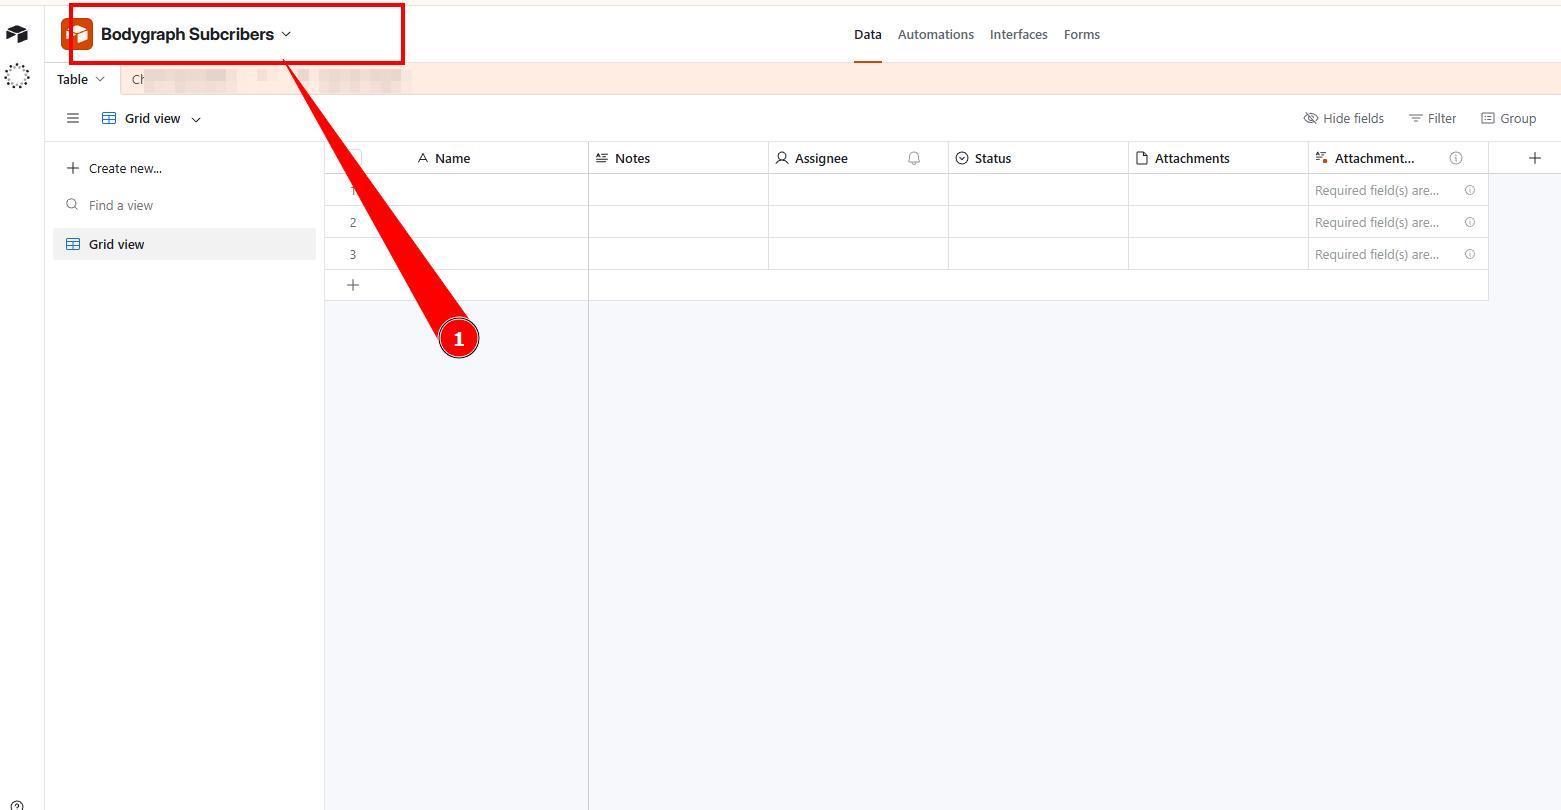
5. Rename database so it will be easy to recognize.
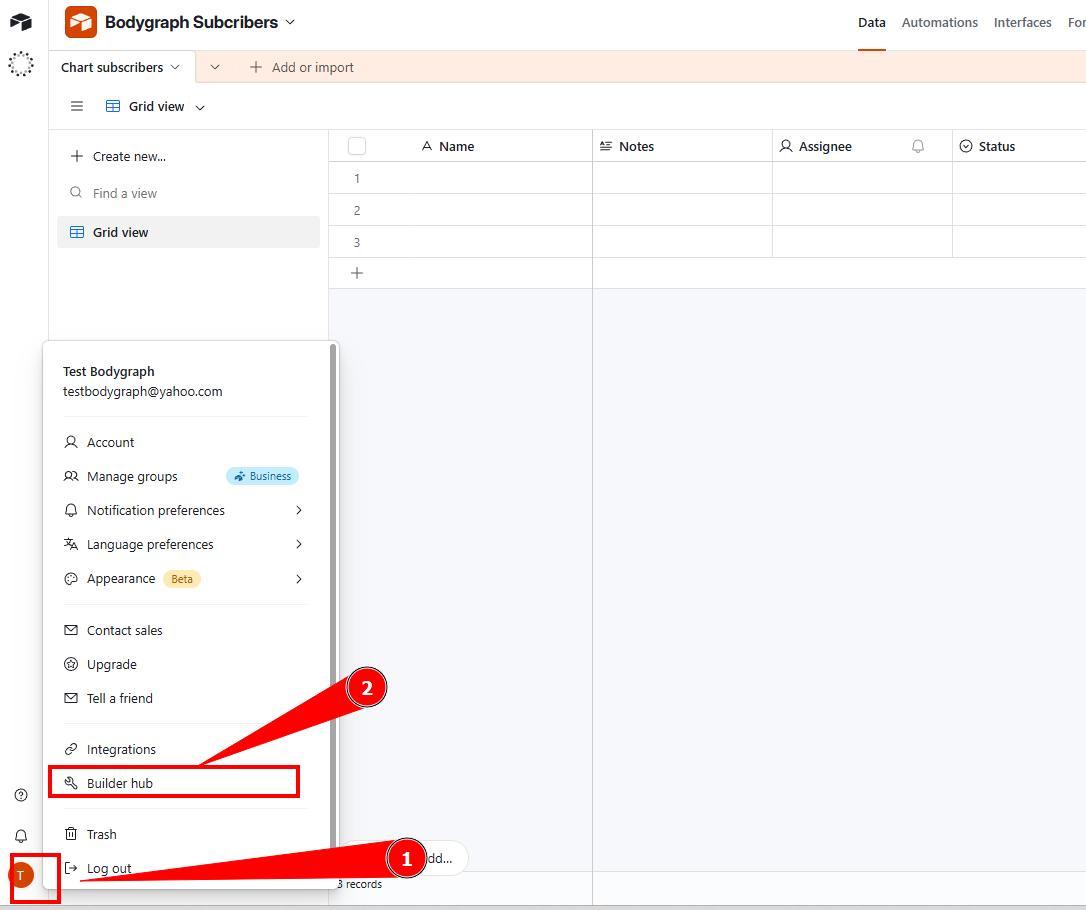
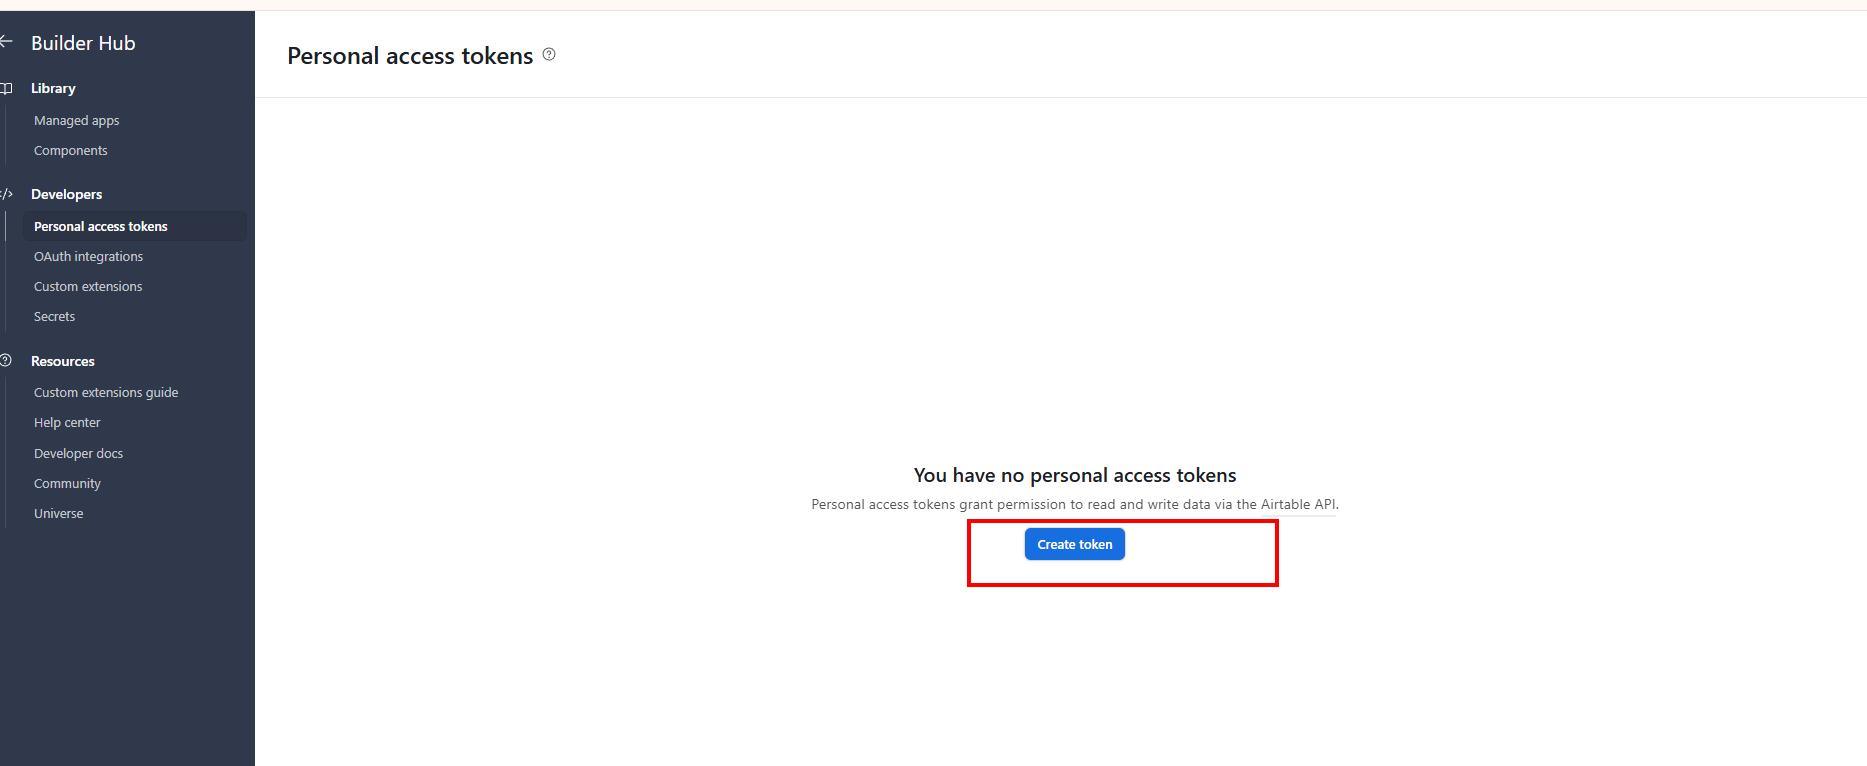
6. Now click on profile icon at the bottom left corner and select ‘Bulder Hub’.
7. Click ‘Create token’.
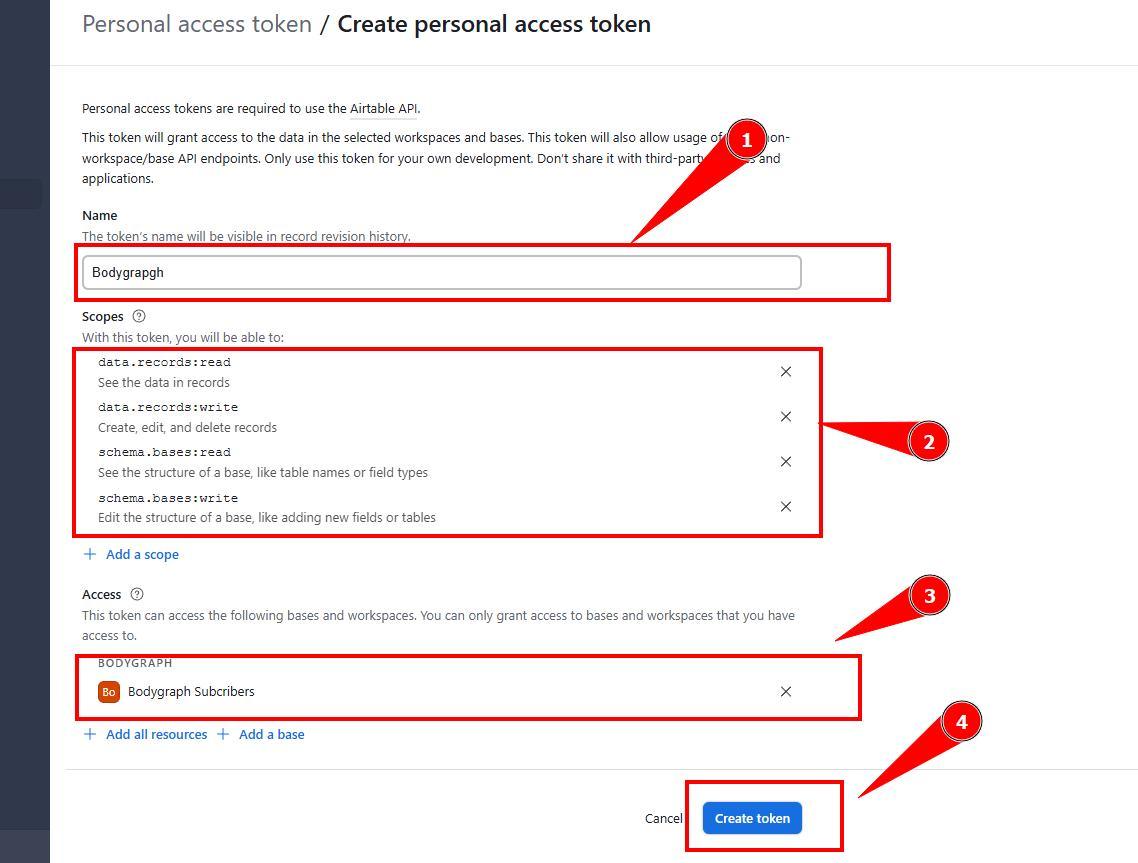
8. Give a token title, connect access to the Base that you created at step 5 and add below scopes, click ‘Create token’:
data. records: read
data. records: write
schema. bases: read
schema. bases: write
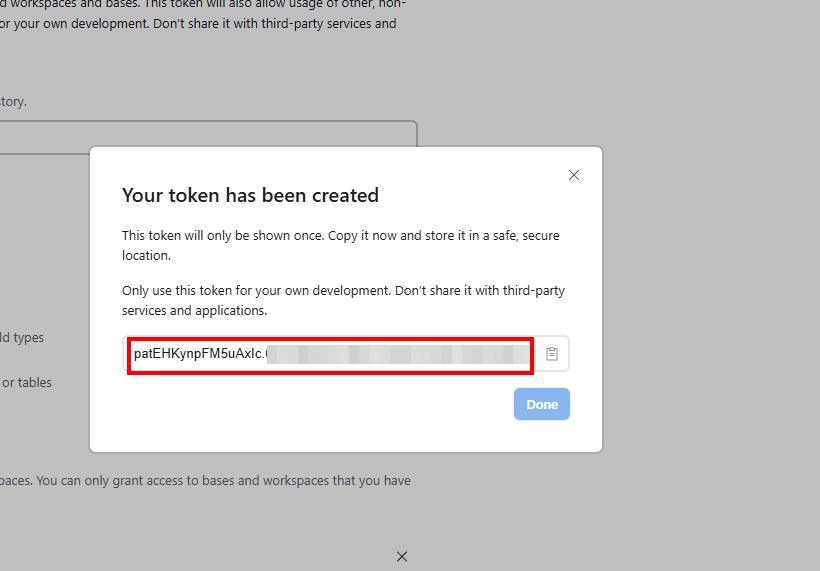
9. Copy the token and paste back into Bodygraph app connection that you left open at the other tab, click Save.

10. Click ‘Test Connection’ to check if connection/token is recognized. Then click ‘Edit’.
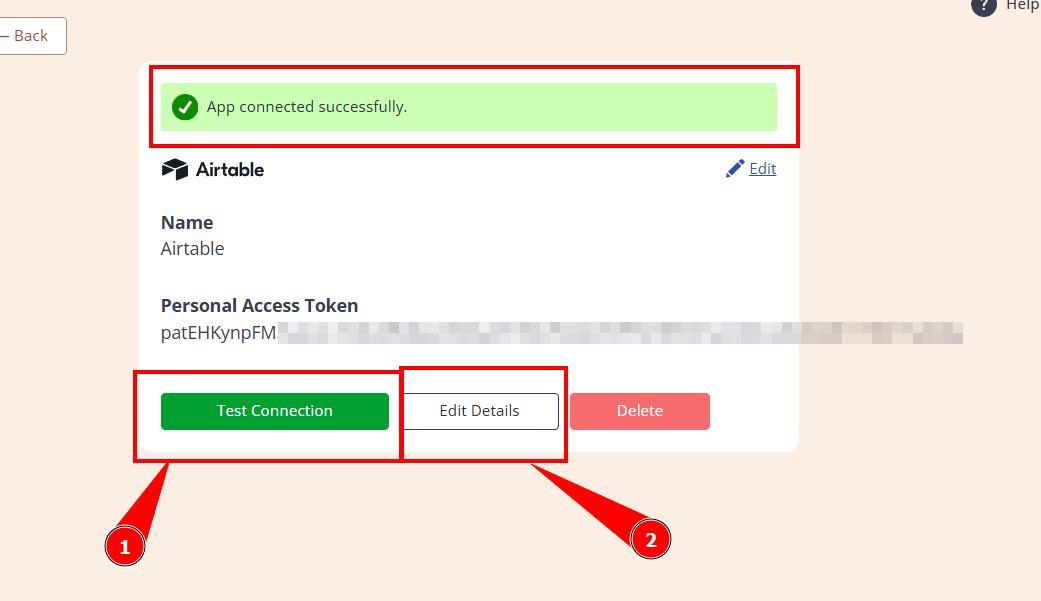
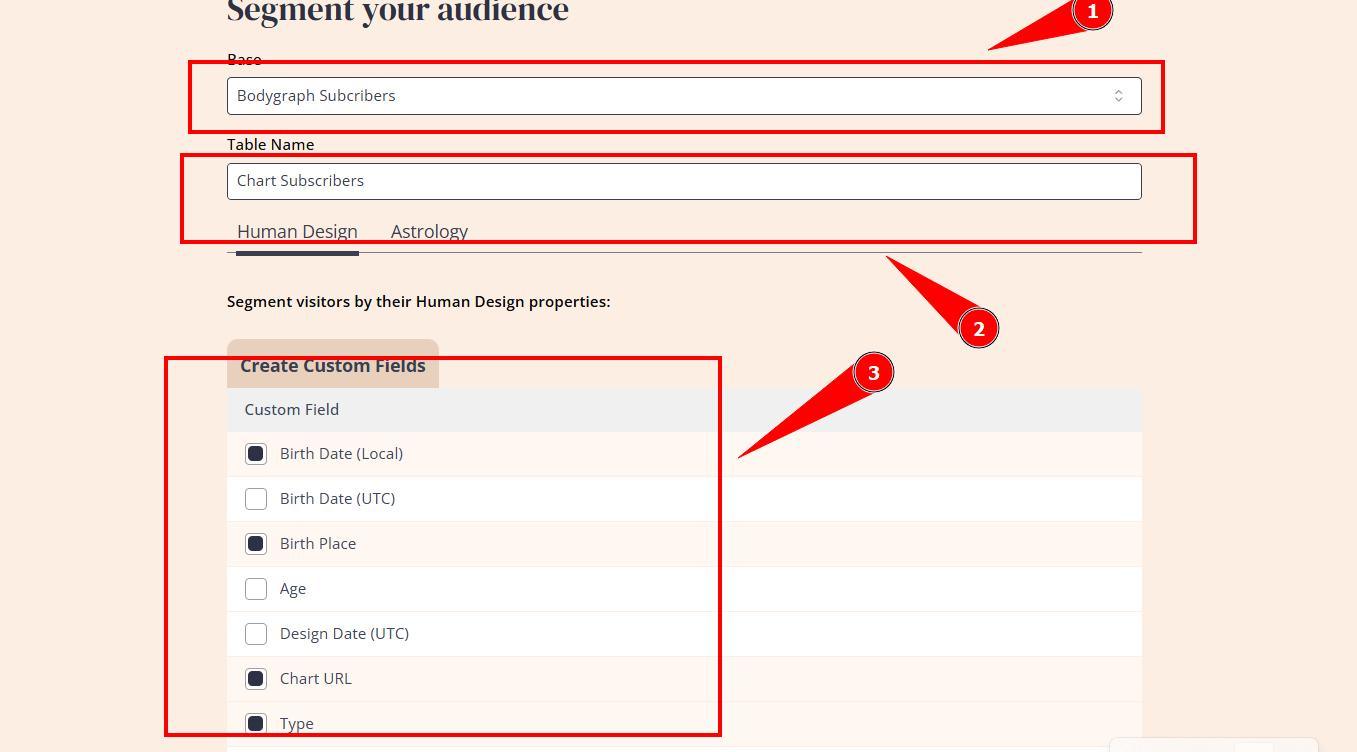
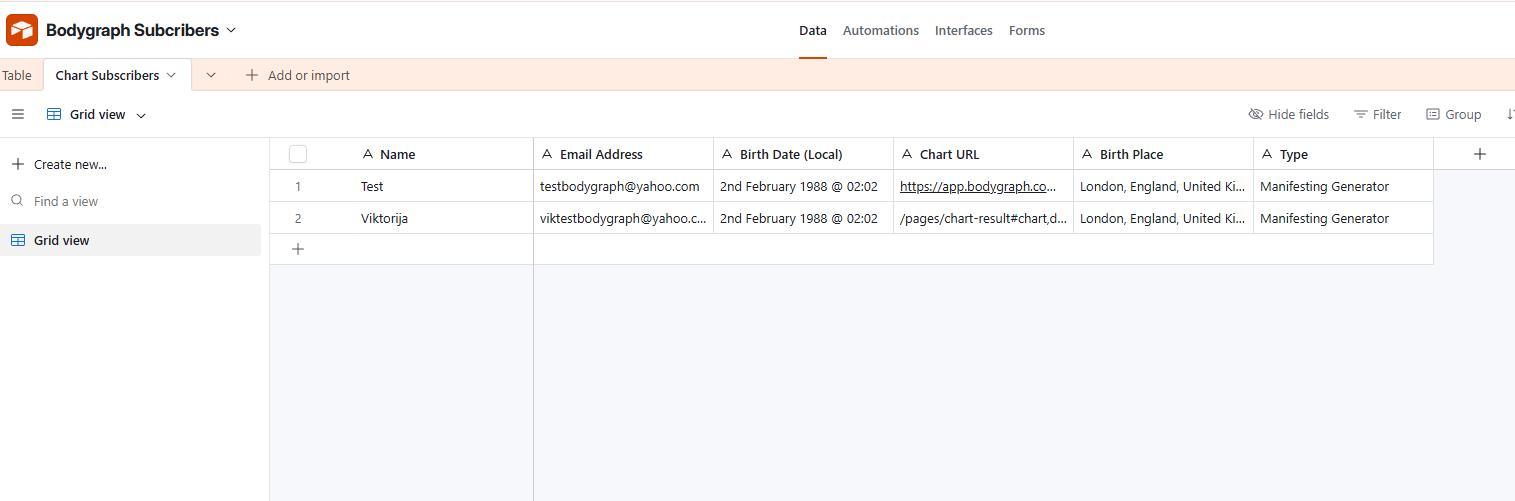
11. Assign the base that you created, enter table name and toggle on Custom fields of the data that you wish to collect, click ‘Save Changes’.
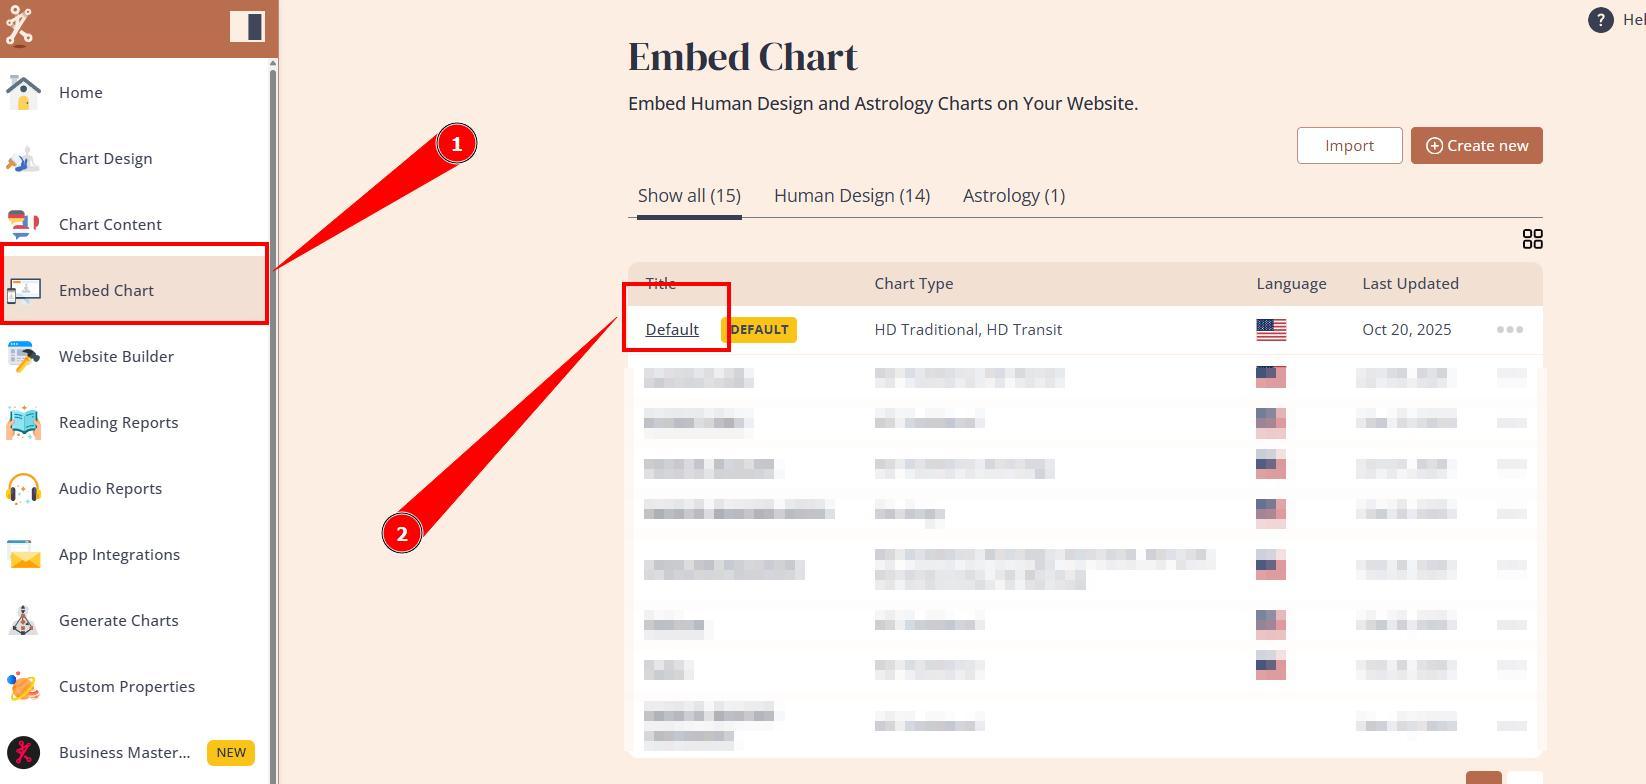
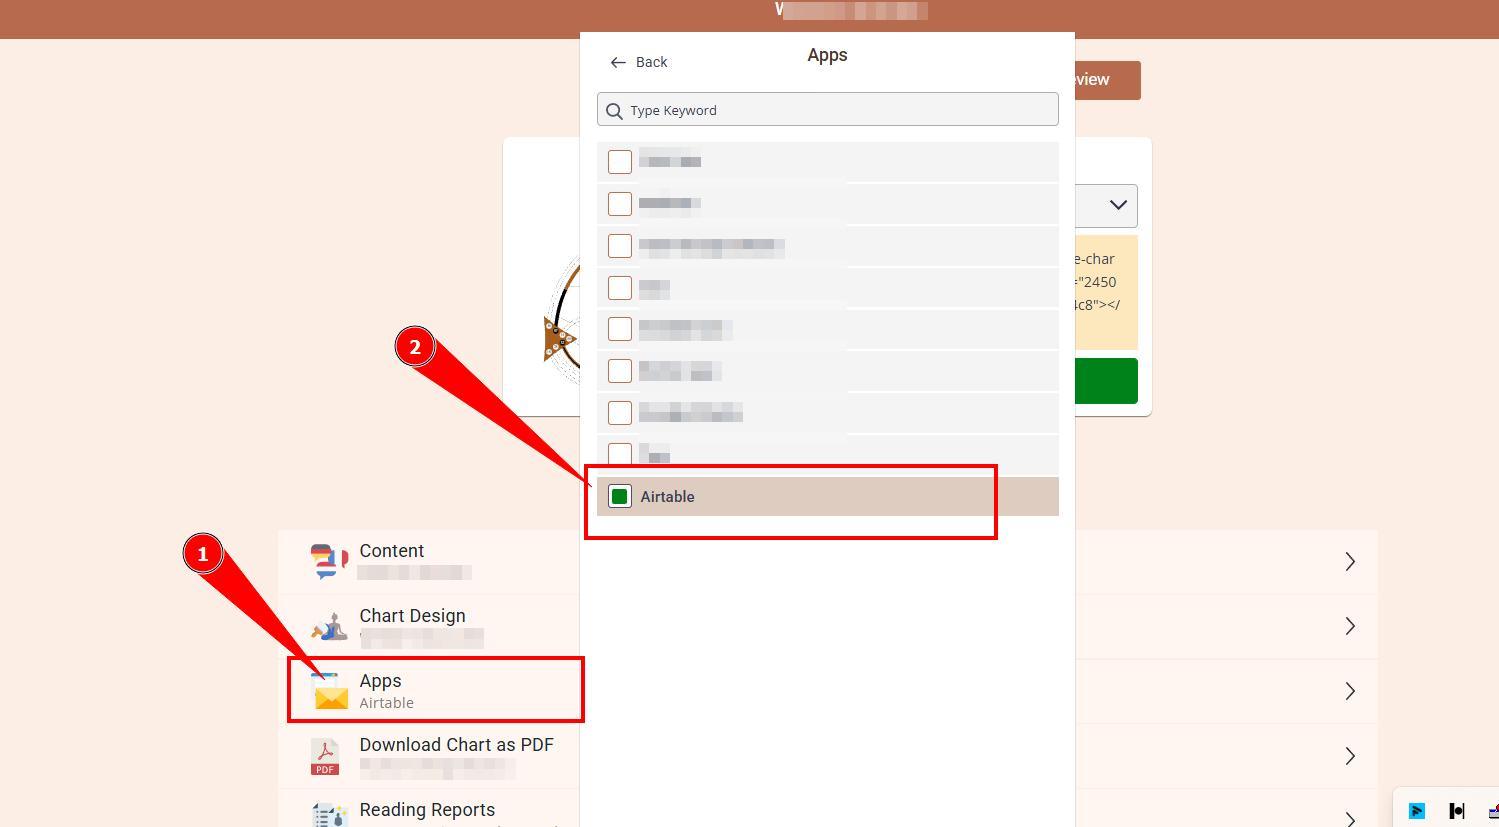
12. Navigate to your embed code at Embed Chart and enable Airtable app. Ensure that your chart design has email field enabled.
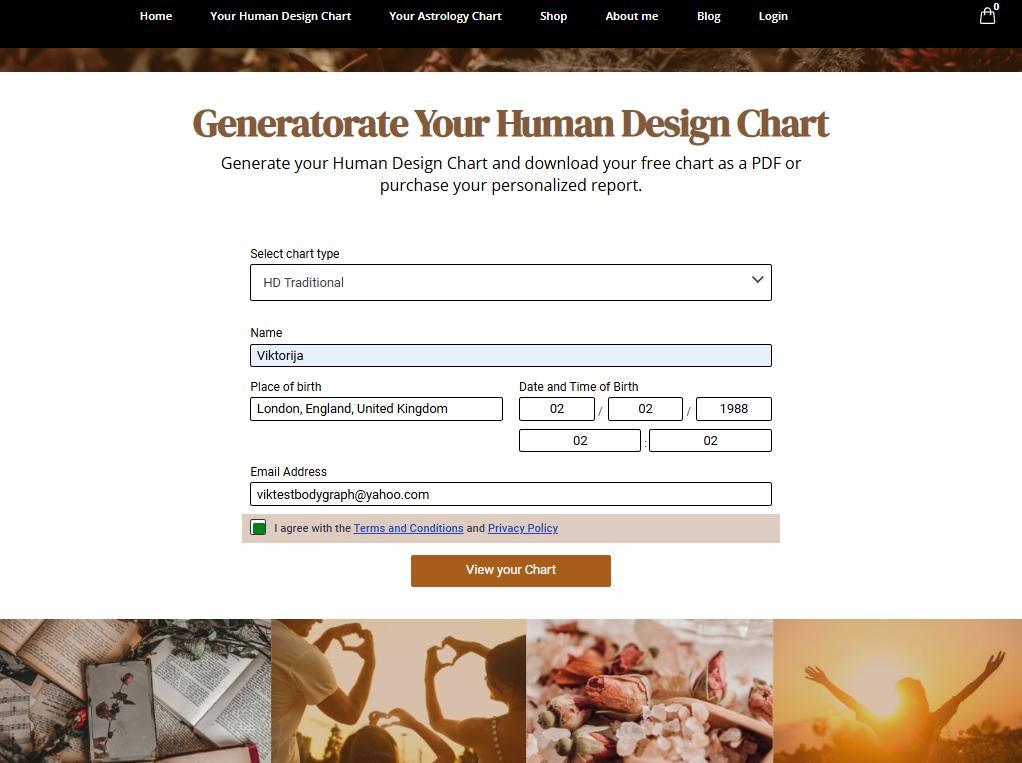
13. Run the chart at the embed code preview or at your website, where chart is integrated, and see if new table with data arrives to Airtable.
Here is a step by step video guide:
Still have questions? Please message us on Live Chat or send an email to support@bodygraph.com.